How to transplant gloxinia - step by step instructions at home
Content:
Gloxinia is very popular among lovers of indoor flowers. For active growth, development and abundant flowering, the culture requires regular transplants.
Why transplant gloxinia
Transplanting a flowering culture is carried out for various reasons. Most often, the following goals are pursued:
- replacing the soil and pot of the purchased flower;
- diving of young plants, after planting seeds;
- the plant needs a larger pot.
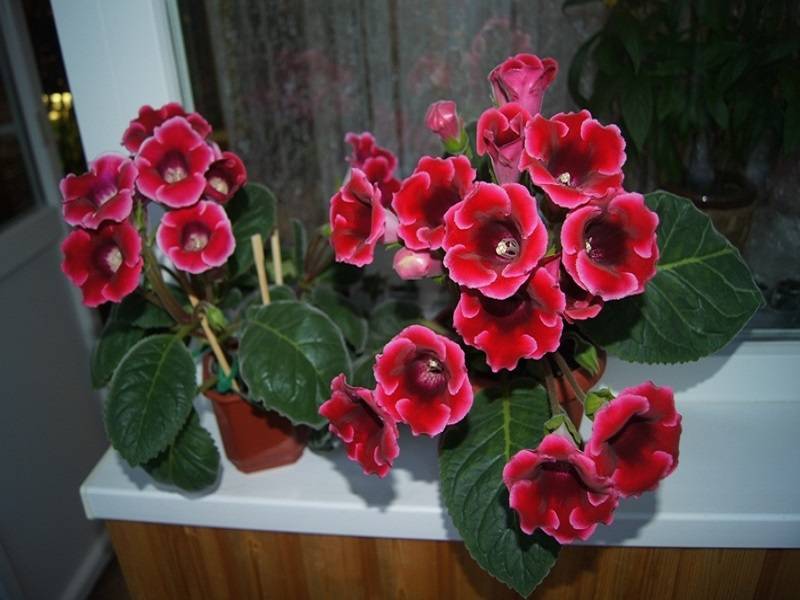
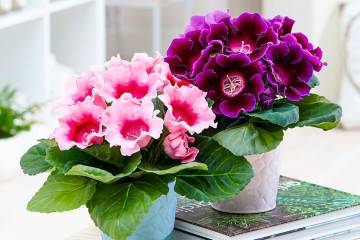
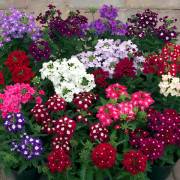
Bright flowers of gloxinia will create a special comfort in the room
When to carry out the procedure
Many owners of this amazing culture do not know when to transplant gloxinia. But flowering depends on the period. Experienced flower growers believe that the best time is the end of winter or the first days of spring.
At this time, the flower comes out of dormancy, grows young buds. As soon as the tops appear on the bush, this is a signal that you can transplant.
When a transplant is not required after winter
It is not recommended to transplant every year, as it is a huge stress for a flowering culture, after which it recovers for a long time. There are several reasons for replacing a pot:
- the substrate becomes poor and does not provide the plant with the necessary nutrients;
- the root system requires more space, the roots are already visible through the drainage holes of the flowerpot;
- the presence of soil pests on vegetation and in the ground in the form of spider mites, mealybugs;
- if gloxinia is infected with fungal diseases.
All these cases require a mandatory transplant. If there are none of the points, then you should refrain and postpone the transplant for some time.
Is it possible to transplant flowering gloxinia
This plant does not tolerate transplanting well, after the procedure it experiences severe stress, therefore, a flowering culture is transplanted only in a critical situation, when there is no longer an opportunity to wait.
These may be problems with the root system, for example, signs of rot have appeared. If an infection has started in the ground, then the transplant is mandatory, regardless of the season. In all other cases, it is better to let the gloxinia bloom, go into hibernation, and then transplant.
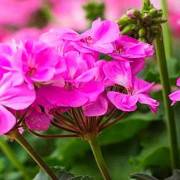
Blooming gloxinia is transplanted only in a critical situation
Preparing for transplant
Before you start moving the plant to a new container, you need to familiarize yourself with some of the requirements. Any non-observance of the rules can lead to the fact that the flower simply cannot bloom in spring.
Pot selection
The choice of a flowerpot for a blooming culture must be approached responsibly, taking into account the peculiarities of its root system. In gloxinia, the roots spread out to the sides of the main tuber, so you should give preference to low, but wide containers.
In addition, the pot must be deep so that a good drainage layer can be laid. The best material for this, according to flower growers, is expanded clay.
Selection and preparation of soil
The soil for indoor gloxinia should be light and loose, with good moisture permeability and neutral acidity. This will reduce the risk of root rot. You can buy ready-made complexes for violets. Or you can make a nutrient substrate yourself. It includes:
- sand - 1 part;
- leaf land - 2 parts;
- peat - 2 parts.
The finished soil mixture is disinfected before planting. This can be done by heat treatment in the oven.
Drainage
The delicate tubers of the plant need a good drainage layer. To do this, you can use the following source material:
- expanded clay;
- ceramic shards;
- broken brick;
- pebbles;
- shredded foam.
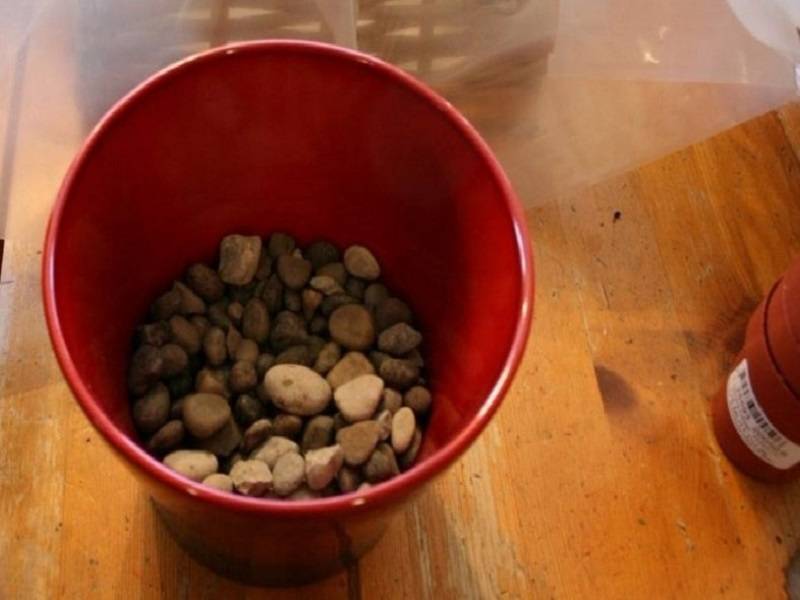
Gloxinia needs a good drainage layer
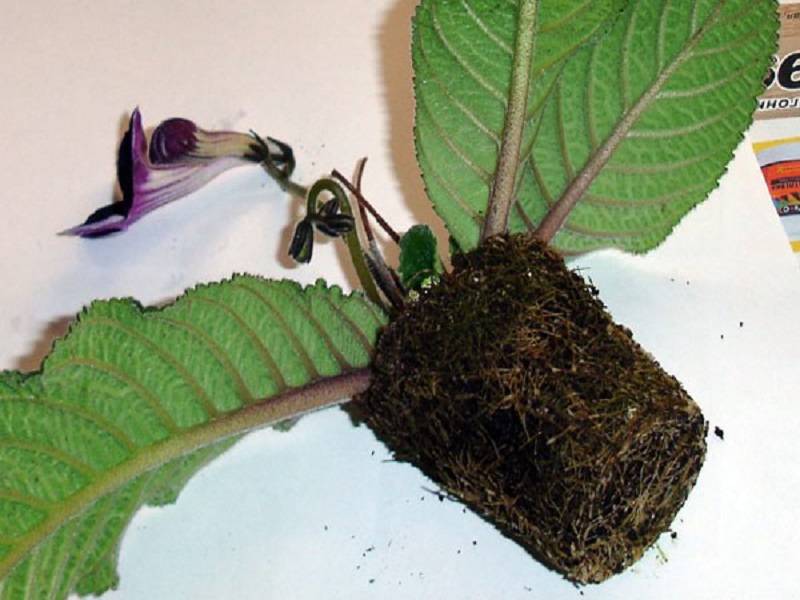
Tuber preparation
Before transplanting gloxinia into another pot, you should carefully examine the flower and tuber. Trim dry roots if necessary. Then you need to rinse them in clean and warm water, clean the old soil.
If there are unhealthy or abnormally growing processes, then they should be removed with a knife. Tools that are used during pruning must be sharp and disinfected. After the procedure, you need to sprinkle the cut sites with crushed activated carbon to avoid infection.
Step-by-step transplant process
Transplanting gloxinia from one pot to another is carried out in several stages. Step by step process:
- Soak the tubers in a fungicidal solution for 30 minutes. A good effect is provided by the preparations "Fitosporin", "Fundazol". You can replace them with potassium permanganate.
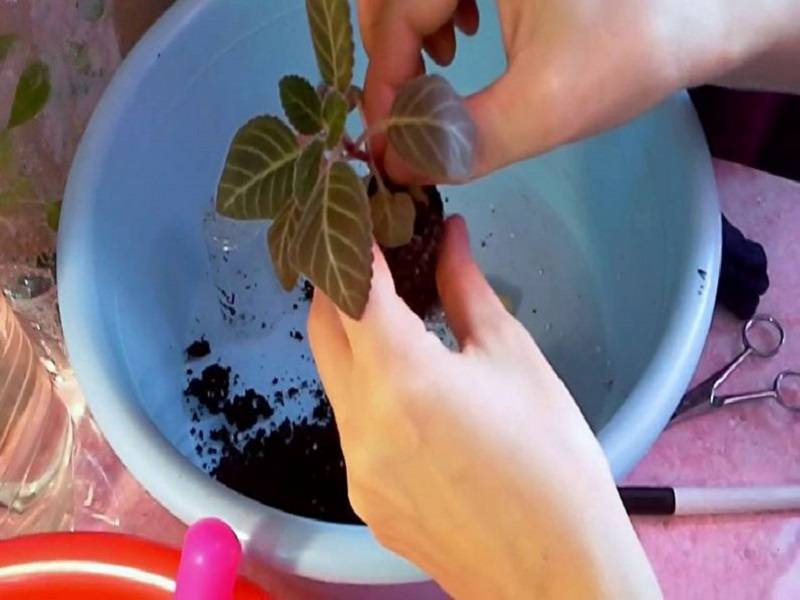
- In the nutrient soil in the center, you need to make a small hole, place the tuber in it. Sprinkle on top of the substrate so that the sprout remains on the surface.
- Moisten and cover the flowerpot with plastic wrap or cover with a plastic cup. This will provide the greenhouse effect that the young plant needs.
After that, the usual procedures are carried out in the form of spraying and airing. The film can be removed when at least two leaves appear on the seedling.
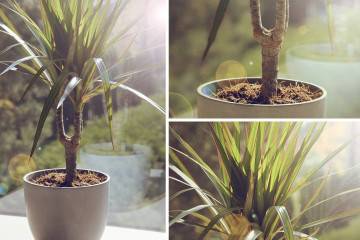
Remove gloxinia from the pot carefully so as not to damage the tuber.
Further care
In order for the flower to quickly adapt to new conditions, it is necessary to provide it with proper care. It consists in the following:
- Watering is carried out in a moderate mode, water should be distributed over the entire surface of the soil. It is also important to avoid stagnation of water in the roots.
- Monitor the climatic conditions in the room with the flower, the temperature should vary within + 20-24 degrees.
- Provide good lighting. The ideal place for a pot is a southern windowsill, but the light should be diffused. For the winter season, it is better to clean it in the shade.
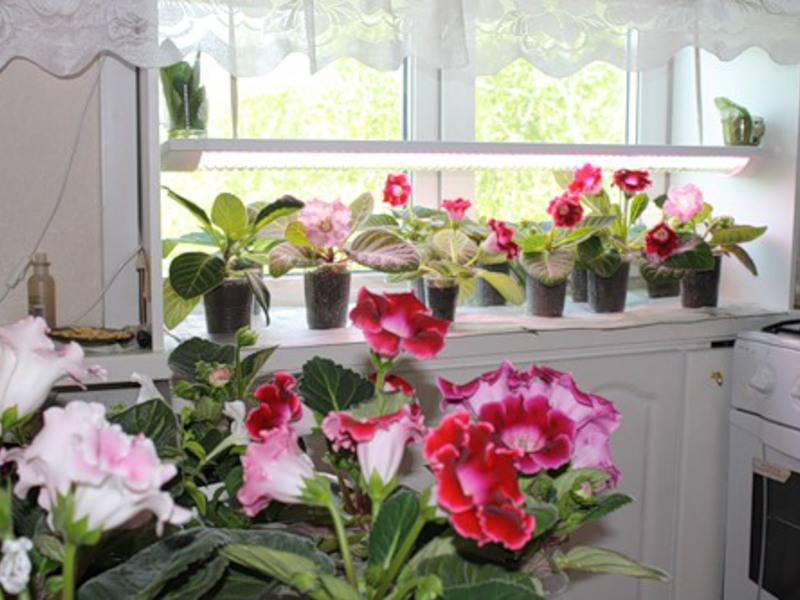
Ideal Place for Gloxinia - South Sill
The basic requirements for care after buying gloxinia and transplanting at home must be strictly observed. Any improperly performed actions can harm the plant.