How to transplant an azalea - options at home
Content:
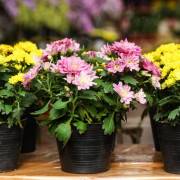
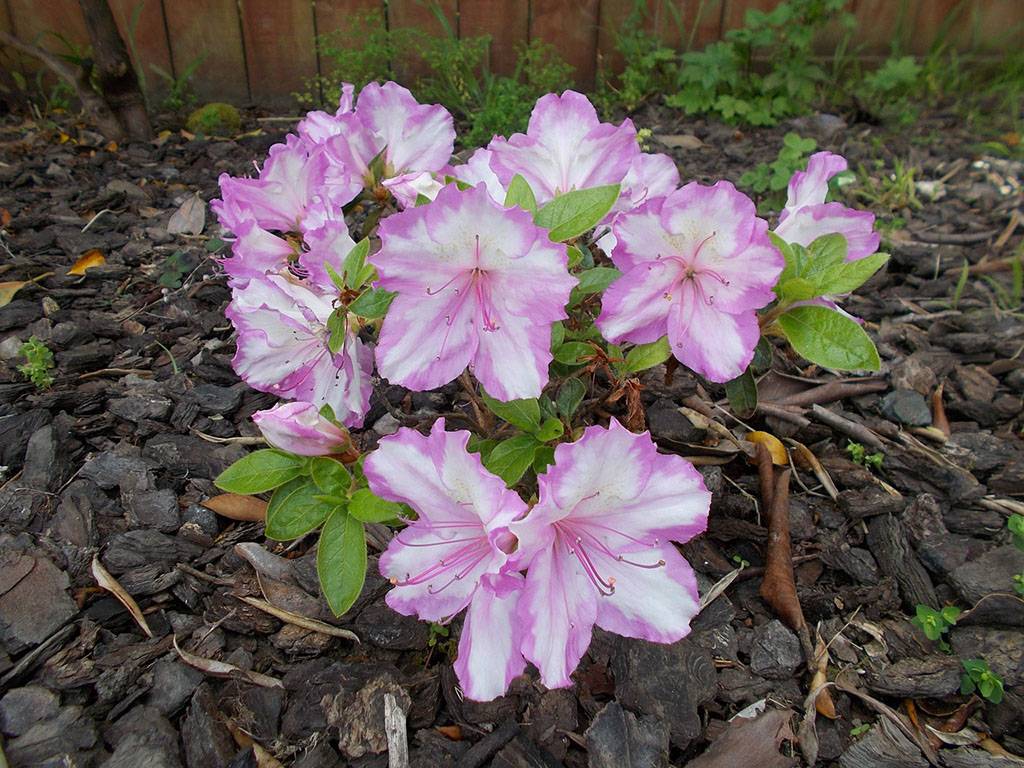
Azalea is a beautiful ornamental plant that belongs to the Heather family and the Rhododendron genus. The culture can be grown at home or in the garden. It has many bright flowers. This species is unpretentious in terms of care. At the same time, a clear violation of the recommendations provokes not only the fall of leaves and flowers, but also the complete death of the culture. Many people are interested in how to transplant an azalea correctly.
When to transplant azalea at home
Often, novice growers are interested in when it is better to transplant an azalea. Experts say that it is strictly forbidden to do this in winter. During the dormant period, a slowdown in all processes is observed, buds are laid, the plant is in a dormant state. If you transplant it, it will negatively affect flowering. It may be completely absent or become too scarce. Transplanting an azalea in winter is stressful for the culture.
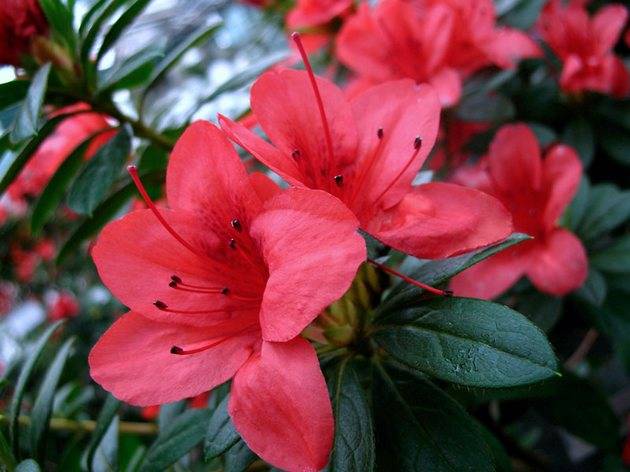
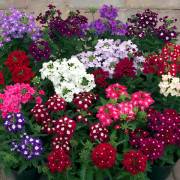
Azalea is a beautiful blooming culture
After the purchase
After purchasing, the plant must be carefully examined. If mold, fungi or irregularities in the structure of the root system are detected, the plant is transplanted into high-quality soil. In this case, you need to get rid of the affected fragments.
After flowering
It is best to move the azalea to a new place in the spring. It is recommended to do this after the end of the flowering period. It is strongly not recommended to carry out the procedure during flowering or bud formation. This usually happens in late June or early August.
Transplanting a culture during the flowering and budding period is possible only in extreme cases. Most often, this procedure leads to the discarding of flowers. A sick azalea may even die.
Transplanting young crops should be carried out every year, adults should be moved to a new place at intervals of 2 years. If the bush has been flooded or the pot has become too small, an unscheduled transplant is carried out.
Reasons for transplant
The need for an azalea transplant after flowering arises in such situations:
- the presence of visible signs of diseases - mold, fungi;
- damage to a fragment of the root or the entire root system;
- young plant;
- strong overgrowth of roots.
How to properly transplant azalea indoors
Many people are interested in how to properly transplant an azalea at home. To do this, you need to prepare the correct pot and soil.
Selection and preparation of soil
Azalea needs soil with high acidity parameters. Therefore, it is important to find the right substrate for the plant. It should be loose enough and allow air to flow well to the root system. To maintain the desired parameters, the plant must be periodically watered with a citric acid solution.
It is best to do it yourself. To do this, you need to take the following ingredients in a 2: 1: 1: 1: 1 ratio:
- special substrate for azaleas;
- small tree bark;
- fresh or dry sphagnum moss;
- fine sand;
- charcoal and vermiculite.
You can also mix coniferous soil, peat and sand in a 2: 1: 1 ratio.No less effective will be a composition based on pine needles, high peat, sand and leafy earth. They are mixed in a ratio of 2: 3: 1: 1.
The prepared substrate must be watered with a special agent - "Fitosporin" and its analogues. You can also process the mixture in the oven or steam it over boiling water.
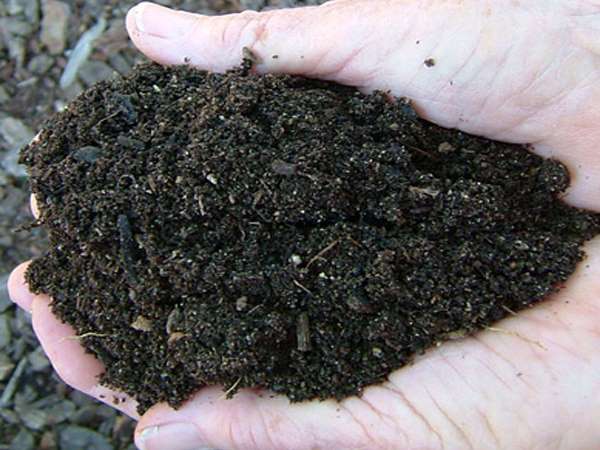
Do-it-yourself azalea soil
Pot selection
The choice of a pot for an azalea is of great importance. It should not be very large in order for the roots to feel as comfortable as possible. It is best to choose a container 2 cm larger than the previous one. This will help the root system to settle down faster and minimize the risk of soil flooding.
It is desirable that the pot has low edges and is wide enough. The root system of the plant is characterized by horizontal development, therefore it requires optimal conditions.
The pot material can be anything. Plastic or ceramic is great. At the same time, natural capacity is still more preferable. There should be drainage holes at the bottom to remove excess moisture.
Renewal root pruning
Carrying out sanitary pruning has a good effect on the state of the culture. To begin with, a flower with a lump of soil must be removed from the pot. It must be inspected for external damage and dead fragments removed.
You should not try to separate a dense lump of earth with your hands. This can cause root damage. Before pruning, they must be soaked in a warm solution of "Zircon". Then you can do the refreshing pruning. To do this, the roots on each side should be cut by 1-1.5 cm.
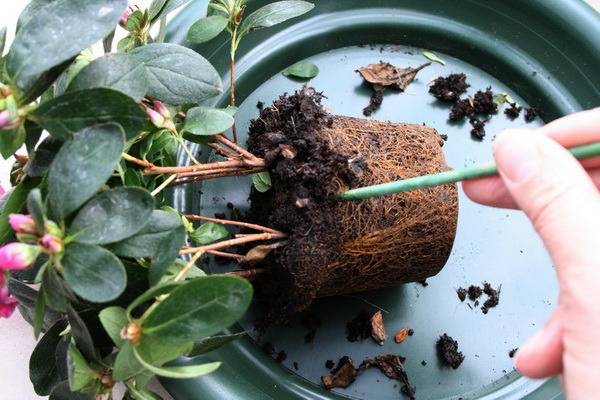
Roots need to be cut a little before transplanting.
Splitting an azalea
By dividing the bush, the plant you like is propagated. Also, the procedure can be carried out due to the impressive size of the bush. How to plant an azalea at home?
To do this, you need to carefully remove the flower from the pot, examine the roots and, if necessary, cut off diseased or dry fragments. The earthen lump must be cut into several fragments.
Planting in another pot
The step-by-step process of planting a plant looks like this:
- A 3 cm thick drainage layer is poured at the bottom of the container. It should consist of small stones.
- On top you need to put chips, sand or pine bark. The thickness of this layer should be 2 cm.
- Then sprinkle the layer with "Trichodermin", which helps to avoid the development of fungi and rot.
- Pour soil on top and distribute evenly over the container.
- Remove the azalea from the dish with the growth stimulant solution, squeeze out a lump of earth a little and let the liquid drain.
- Place in the center of the prepared soil.
- Pour fresh soil around the azalea. In this case, the root collar of the culture must not be affected.
- Gently add soil on the sides and compact it slightly.
- Slightly water the soil with the solution in which the roots were soaked.
Features of transplanting azaleas in the garden
The plant should be transplanted into the garden in early spring - before the active movement of the juices. As a last resort, you can transplant the culture in early autumn. For street azaleas, the superficial location of the root system is characteristic. Therefore, she does not need a deep hole for planting. The depth should not be more than 50 cm, and the width should be 70-80.
It should be borne in mind that the use of lime crumb changes the acidity parameters. This negatively affects the development of the bush. When planting, it should be borne in mind that the root collar of the plant should be above the surface of the earth.After planting, the soil must be tamped and watered.
Azalea can be planted in the garden
Typical transplant errors
Violation of the rules for transplanting and caring for azaleas at home can provoke fungal infection or parasite attacks.
With excess moisture, there is a risk of rust or root rot. Any fungicide should be used to deal with the problem. A solution of copper sulfate is also suitable. In case of pest attacks, you need to immediately treat the bushes with insecticides.
If the azalea does not bloom after transplanting, the following may be the cause of the problem:
- incorrect soil composition;
- improper watering;
- increased dryness of the air;
- violation of the fertilization regime.
Further care of the flower
Knowing how to plant an azalea correctly is not enough. Culture needs proper care. A weakened plant is recommended to be treated with growth stimulants. After transplantation, the culture needs optimal conditions:
- Choosing a place. After transplanting, it is recommended to place the azalea in a warm and bright place, which is protected from direct sunlight. The culture should not be affected by sources of heating and drafts. The best solution would be a west or north window.
- Illumination. Culture needs a lot of light. However, she does not tolerate direct rays of the sun. To compensate for the lack of lighting, artificial lighting should be used. In warm weather, you can take the bush to the balcony, slightly shading it.
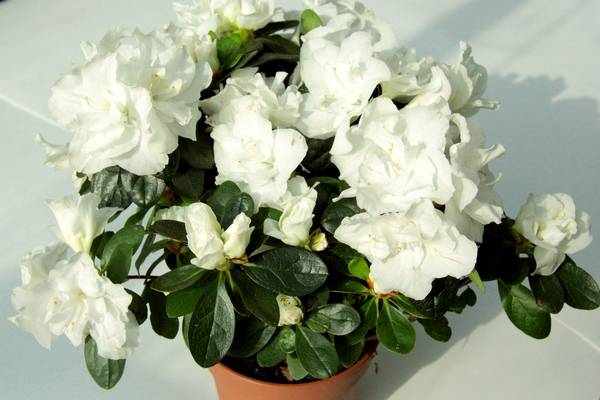
For a lush flowering culture requires quality care.
- Humidity. The plant needs high humidity. If the air is very dry, you need to pour expanded clay into the pallet and pour water. To prevent dry leaves, azalea is sprayed every other day.
- Temperature. From October to December, the suitable temperature regime is + 6-10 degrees. In such conditions, the process of kidney formation is going well. As the buds bloom, the temperature is increased to +17 degrees. In summer, the parameters should not be more than +18 degrees. In winter, they cannot be less than +5.
- Watering. The potted azalea should be watered in the morning. This is done at intervals of 2-3 days. Water should be poured through the drip tray. After 15 minutes, the excess water must be drained off.
- Top dressing. 1-2 months after planting, the azalea should not be fertilized. The procedure provokes a weakening of the culture. As a result, the roots can burn out. When the bush recovers, it is fertilized every 2 weeks.
Azalea is a beautiful decorative culture. In order for the plant to develop normally, it needs to be repotted periodically. In this case, it is important to carry out the procedure correctly.