How to take a shoot from an orchid: transplant options and examples at home
Content:
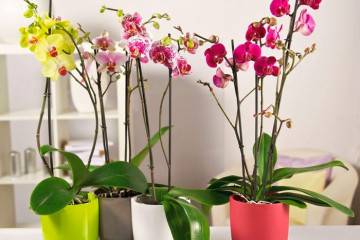
Orchids can be called the queens of indoor plants. Some people devote their lives to cultivating and collecting these delightful flowers. These plants are very capricious, and it is not easy to grow, and especially to breed them at home. With the appearance of an orchid shoot, along with joy, many questions arise that relate to further actions to separate the children and their rooting.
Tools and materials for depositing the appendix
In addition to knowing how to separate, plant and root the shoot, you will need a number of materials to carry out these procedures. It will also come in handy for a list of necessary tools and knowledge on how to prepare them for work.

A full-fledged plant can be grown from a baby
Materials (edit)
Before you take a shoot from an orchid, you need to prepare everything. The list of materials is small:
- Styrofoam. It can be used as a drainage, although flower growers have different opinions on this. It can also be useful for the construction of a kind of floating support for the offshoot.
- Land. Ordinary garden soil is not suitable for replanting. The best solution would be to buy a special orchid substrate in a garden center.
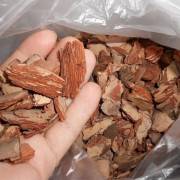
- Pine bark. This material is always included in the composition of the soil for growing orchids. The main thing to pay attention to is the integrity of the pieces. A crumb and too small particles of bark will not work.
- Charcoal. Another component of the substrate, which is necessary not only for moisture regulation, but also for disinfection. When crushed, this material is used to disinfect the slices on the plant.
- Sphagnum moss. This ingredient can be used as a grower, but is more commonly used to stimulate root growth in babies and as a root cover for an adult plant.
Instruments
To separate the baby, you will need a sharp knife, which must first be treated with alcohol or other disinfectant. This tool is mainly used, but if others are additionally used, they also need to be processed.
Most often, a plastic transparent glass or pot is used as a container. You can use other containers of the same material with a lid, suitable for the volume. The most important thing is that they are completely new in order to prevent the risk of infection of the plant.
Separation methods
Orchid babies can form on the peduncle, trunk, or at the base of the root collar. It is on this basis that they determine how to take a shoot from an orchid and whether it can be done. Separately, it is worth considering the cases of the formation of processes directly from the root itself under the surface of the substrate and above it.
The orchid gave rise to a shoot on the stem: what to do
A baby with an orchid on a stem is a bad sign. In this case, reproduction must be abandoned and the process must be left in place. Separation of young and adult plants will lead to the death of both
If the orchid let the baby go on the stem, which is definitely not worth doing, is to get upset.The flower will most likely continue to develop. In addition, it will take on an even more unusual and exotic look.
Baby on a peduncle
This phenomenon is most often seen in indoor orchids. After the end of flowering, a small plant begins to develop on the peduncle, which, as it grows, becomes similar to an adult, only in miniature.
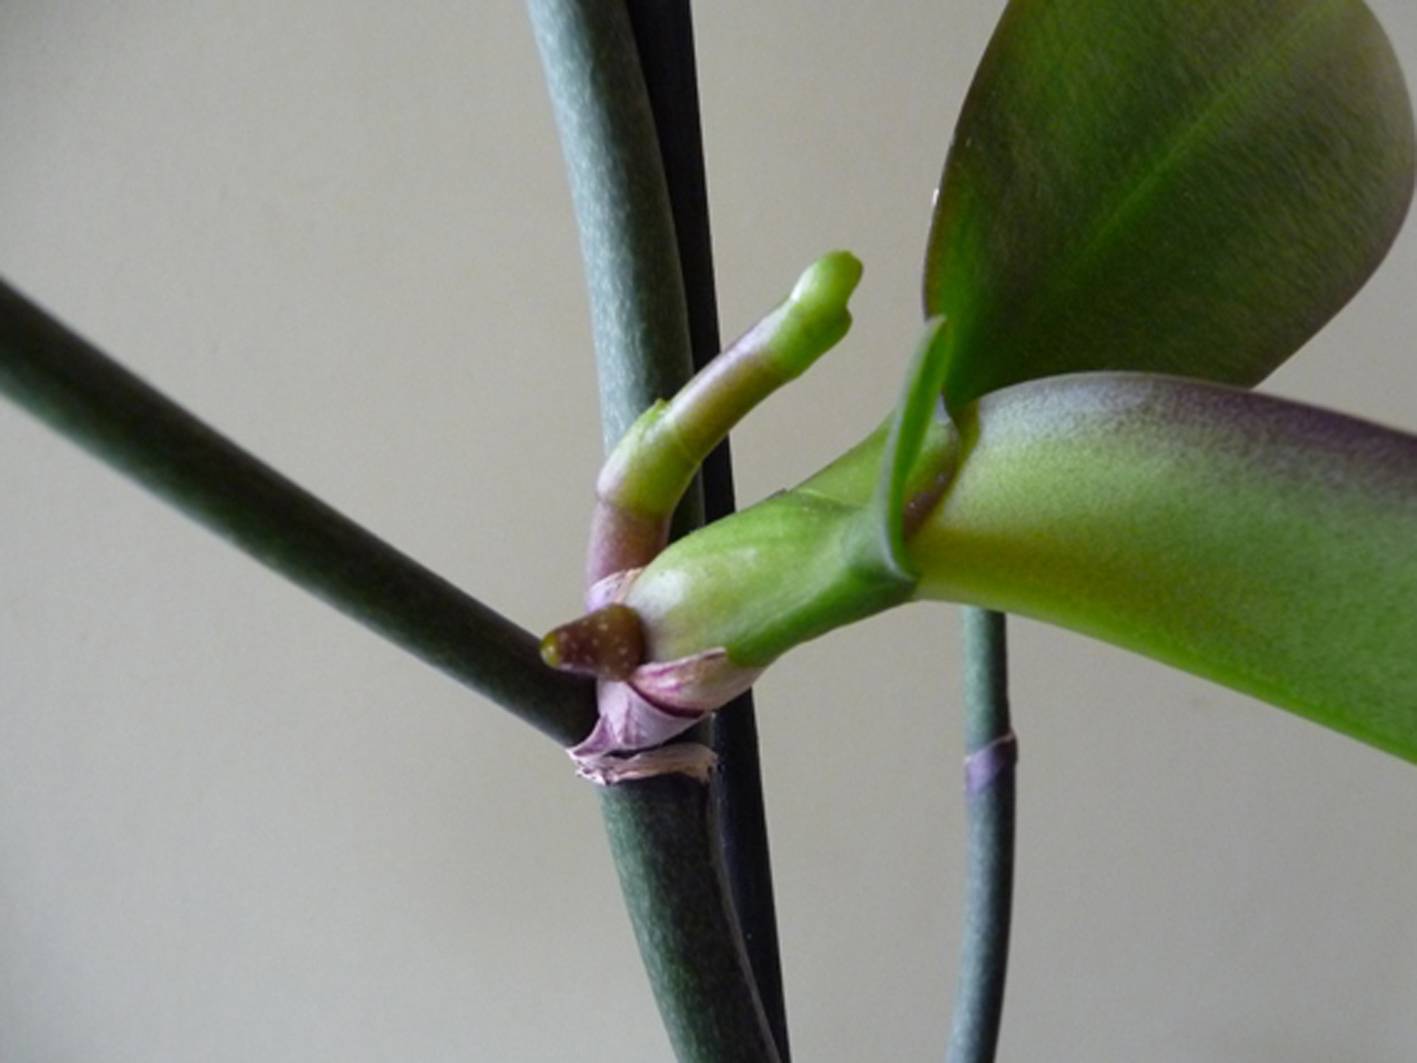
Most often, the processes are formed on the peduncle.
The separation of the child in this case is carried out as follows:
- Gently, holding the peduncle, cut off the shoot with a small fragment of the shoot with a sharp knife.
- Set aside the baby for 30-35 minutes to dry at room temperature.
- The sections are treated with ash or activated carbon.
Experienced growers have noticed that it is the shoots cut from the peduncle that root best of all. The main thing is to properly plant such a cutting and take care of it in the future.
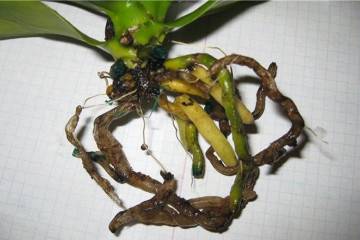
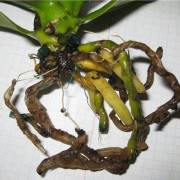
Shoot from the root
Such babies can be rooted or located at the base of the root system. Particular care should be taken when separating the basal process.
The procedure is carried out as follows:
- The adult plant is partially freed from the upper part of the substrate.
- By examining the root system, the location of the maternal roots and process roots is determined.
- The roots are carefully separated and with a knife they separate the baby with a part of the root of an adult plant.
- The slices are disinfected and the adult orchid is placed in the same pot.
If a sprout appears at the base of the roots, you will have to completely remove the root system of an adult orchid from the pot. But it is easier to separate such a process, since the roots do not get tangled.
Options for stimulating root formation
Florists are often faced with the problem of insufficient root growth in children. Instead of growing the root system, the orchid sprouts release new leaves. You can start the growth process artificially. For this, special designs are used at home.
Greenhouse made of plastic
For the construction of such a structure, you will need two plastic cups with a slight difference in diameter or a plastic bottle.
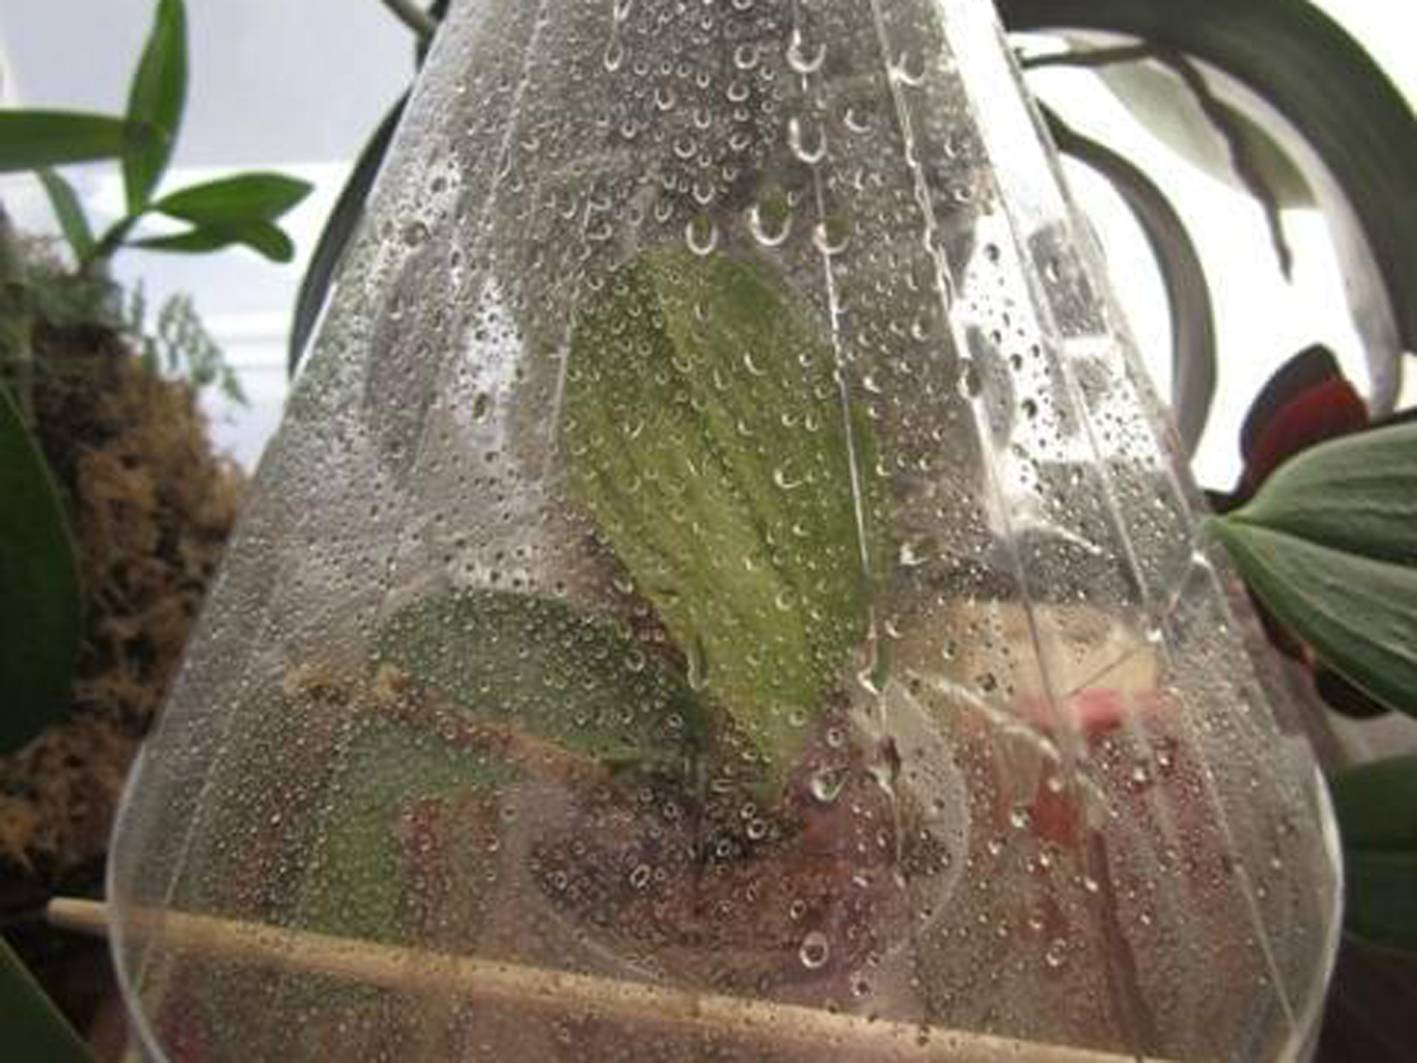
A greenhouse will help to grow additional roots.
Step by step the greenhouse is assembled like this:
- A drainage layer is placed on the bottom of the lower cup, and sphagnum moss on top.
- Watering the bottom of the greenhouse is carried out.
- A vertical support is installed by fixing it to the lower cup.
- The process is placed on the support so that the roots do not come into contact with the moss.
- Cover the structure with a second glass.
Such a greenhouse is an impromptu tropics. In this case, the goal is to create conditions for the small orchid that are as close to natural as possible.
Styrofoam and water
This is a rather unusual method and is often less effective. It is used, as a rule, due to the ease of construction of the structure.
It looks like this:
- A through hole is made in a square of thick and dense foam.
- The baby is placed in it so that the roots are inside the hole, but do not go beyond it.
- The foam is lowered with an extension to the surface of the water.
Additionally, to maintain the microclimate, you can install a shelter, but it must be ventilated at least 2 times a day.
Planting and rooting process
After separating the offshoot from the mother plant, you can start planting. In the event that the orchid has given a shoot on the stem, there is no question how to transplant it.
For planting, use a ready-made substrate and a transparent plastic pot or cup. The pot is filled so that the point of growth of the leaves is at the level of the edge of the container.From above, the roots are covered with a small layer of sphagnum moss.
For successful rooting at first, it is worth considering a few rules:
- It is better to place the pot in a small partial shade or on a windowsill with diffused lighting.
- Watering should be started only after 2-3 days, as earlier moisture will harm the flower and can cause rotting of the roots.
- It is recommended to carry out daily spraying, and then carefully wipe the leaves from dust and dirt.
The first 10-14 days after planting the scion are decisive. The slightest deviation from the temperature regime, a sharp decrease in air or soil humidity can lead to a disastrous result. In the best case, the baby will take root longer than the prescribed period, and in the worst case, it will die.

Rooting orchid babies is a painstaking process
It is not enough to know how to plant an orchid from a shoot, you must also understand the intricacies of caring for it.
Further care
Before the shoot takes root and standard orchid care methods can be applied, special conditions must be provided for the young plant.
You should adhere to certain recommendations:
- Starting from 4 days and until complete rooting, watering is carried out with warm water as the substrate dries completely.
- Humidity must be maintained at least 70%;
- The temperature should not fluctuate more than between 20 and 23 ° C.
When a young orchid is completely rooted, it can be transferred to standard care and put in a permanent place.
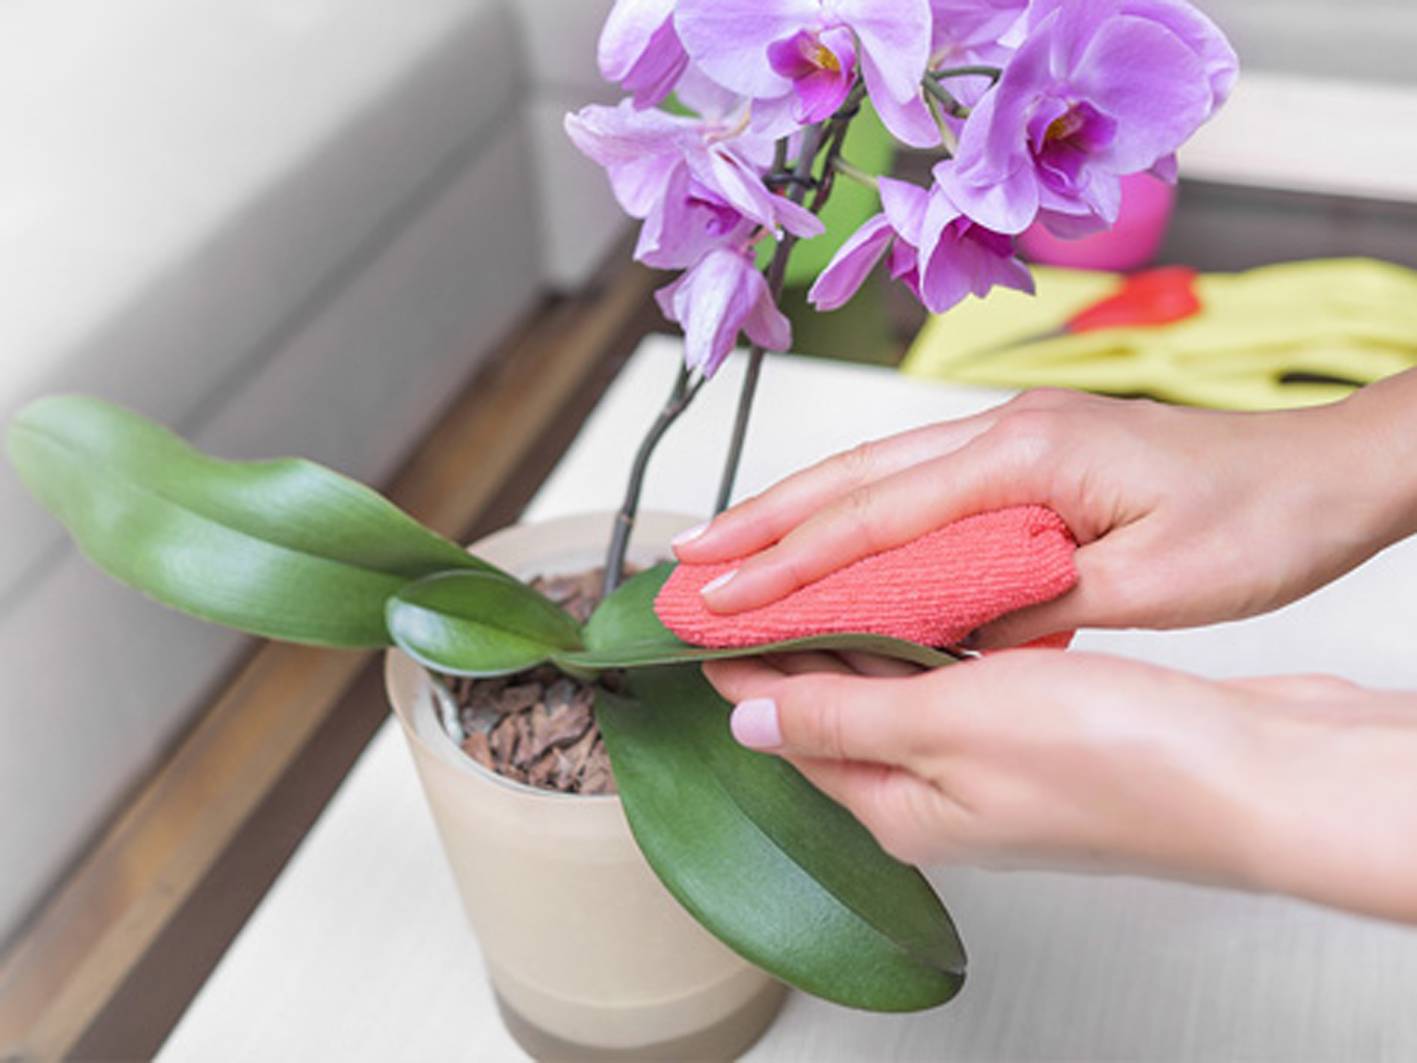
Leaves are not only sprayed, but also rubbed
Standard maintenance measures include soil moistening, regular spraying and top dressing. It is better to use fertilizers special for orchids. The top dressing schedule is most often indicated in the instructions for the drug.
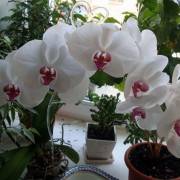
Orchids have won the hearts of many flower growers, and for some they have even become a hobby. In addition to the usual species, there are such interesting ones as phalaenopsis and dendrobium. These flowers are so beautiful that they can be forgiven for their high care requirements.
Reproduction of orchids is also not a simple exercise. To carry it out correctly and get a healthy young plant, you need to properly prepare the tools and materials. But the main thing is to stock up on knowledge and patience.