How to transplant an orchid to a new location
Content:
Every florist should have the knowledge of how to plant plants. The orchid, like other indoor plants, needs to be repotted periodically. This procedure is essential for the healthy growth of the flower. The article will talk about how to transplant an orchid correctly.
When a transplant is needed
To maintain the health of a plant, you need to know about the features of its transplant.
There are signs that determine the need to change the pot at home:
- Algae and moss have formed on the sides of the pot. This indicates stagnation of the soil, poor ventilation. If nothing is done, the roots will rot from high humidity.
- The root system took up the entire pot. This can be seen well in a transparent pot. In this case, you need to transplant the flower into a larger container.
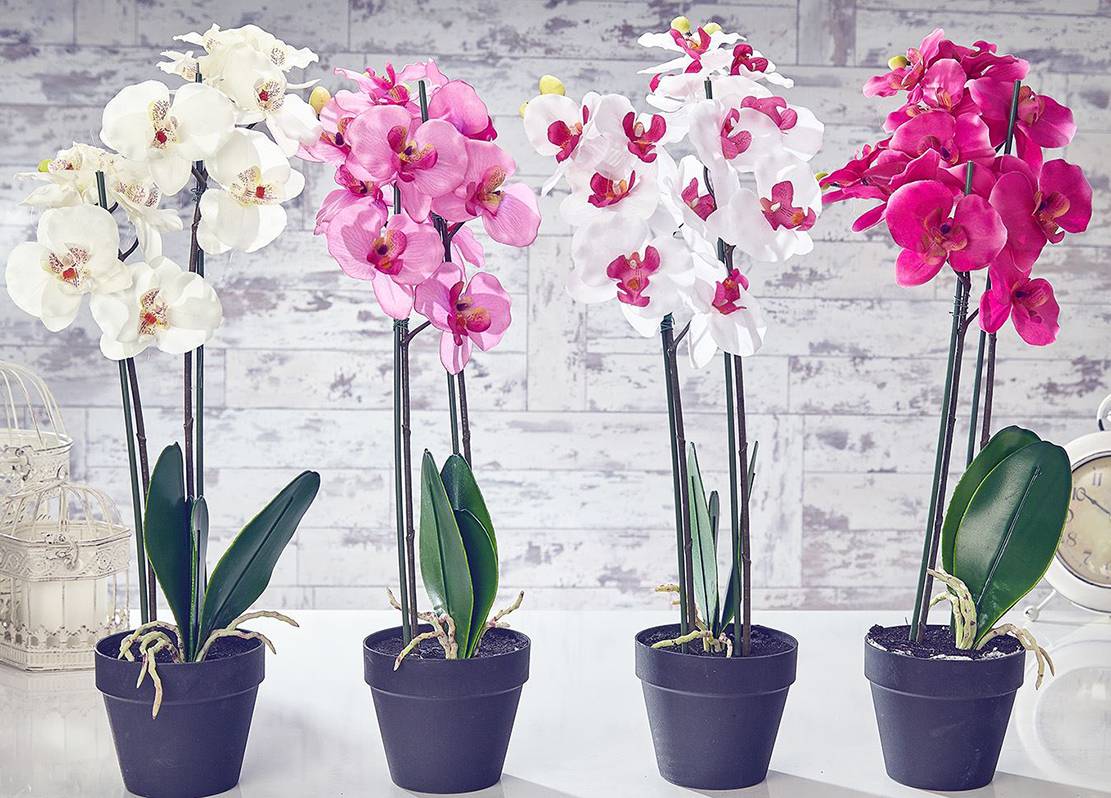
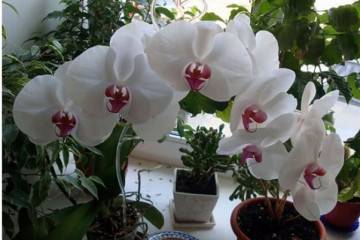
Orchids fit into any interior
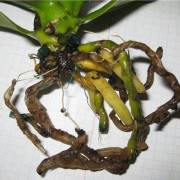
- Damage to the root system. Healthy roots are greenish in color. When black, dry or moldy roots are visible through the pot, an orchid transplant is necessary.
- If insects, pests are found in the substrate.
- After watering, the foliage remains sluggish, the turgor is not restored. First you need to examine the roots, and then proceed with the transplant.
- The orchid spins freely, moves in the planted container.
Aerial roots outside the pot are common and do not need replanting
How often to replant an orchid
The process of transplanting into a new container, replacing the substrate puts stress on the plant. This can lead to disease and stun root growth for a while. Therefore, it is often not recommended to transplant an orchid, it is enough once every 2-3 years.
If the plant does not need an urgent transplant, then it is better to do this in the spring, with the onset of the active growth phase. For several years of plant growth, the following processes occur:
- The substrate begins to decompose, therefore, it loses its previous air permeability, and moss begins to appear.
- The roots in the central part deteriorate from high humidity, lack of air. The roots begin to sprout from the drainage holes, the general appearance and decorativeness deteriorate.
- Roots grown from the stem suffer from drying out, especially in winter.
How to choose a pot and soil
When choosing a new flowerpot for an orchid, you must first take into account the needs of the root system of the flower. You can find different pots in the shops.
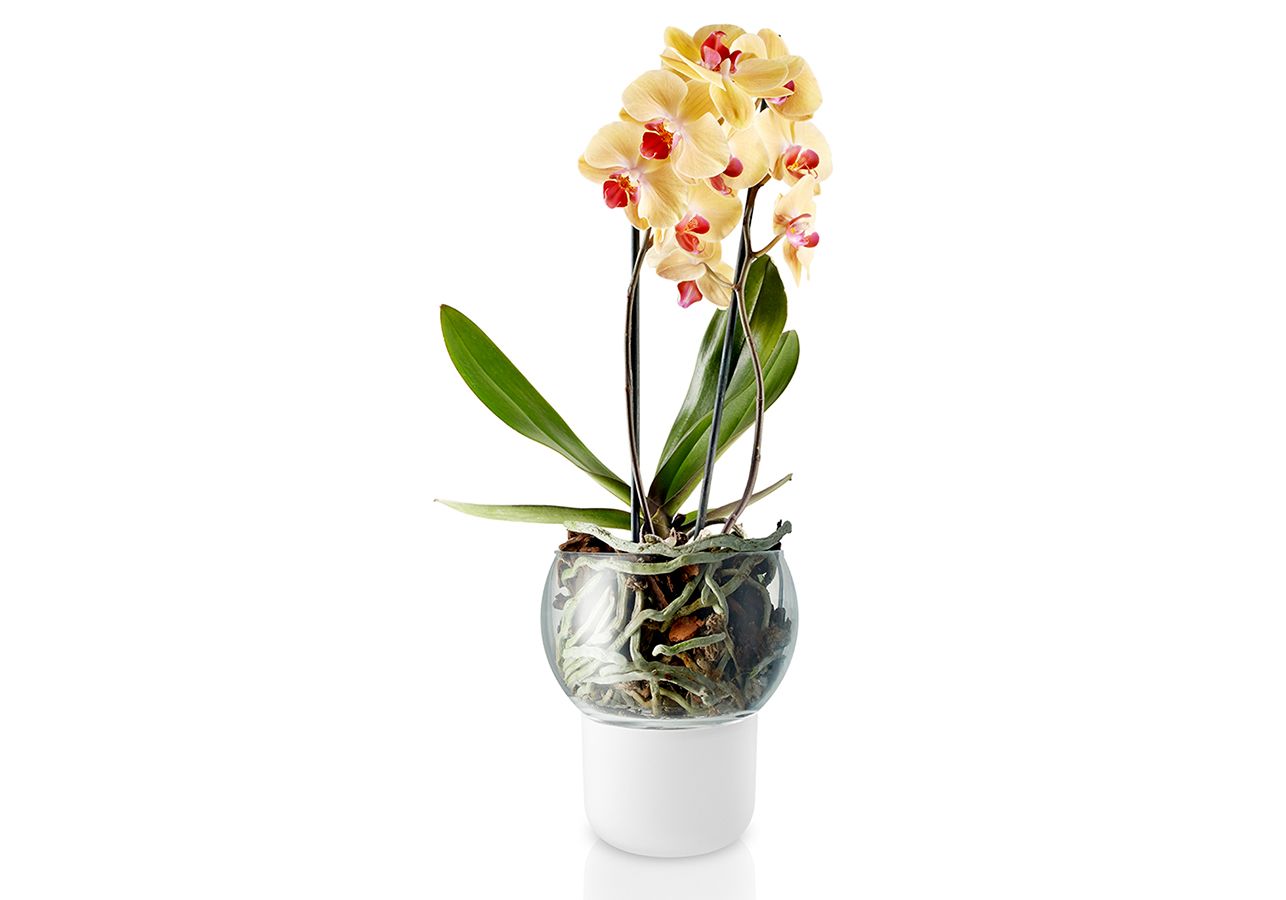
The best pots are transparent. They can be of any color. In such a container, the roots are clearly visible, they have enough light, they do not grow to the walls of the pot.
Translucent pots or planters are ideal for a window sill that is exposed to the sun's rays.
Stick or net pots are not suitable for home growing. The substrate in them will dry out from lack of moisture. They may be suitable for growing in a greenhouse with high humidity.
The stick-shaped planter can be used as a design element
When choosing a pot, you should be guided by the following tips:
- The pot should have drainage holes through which excess moisture will come out and air flow. If there are not enough of them, you need to make additional ones yourself.
- When handling a flower, the diameter of the new pot should be 1-2 cm larger.
- Too bulky pots are not needed, because after inspection and removal of unusable roots, the old pot may come up. In addition, a large amount of the substrate dries out longer.
An orchid, especially a phalaenopsis, cannot survive in a simple land; it needs a special substrate. Ready-made can be purchased at a flower shop. It is of two types:
- For epiphytic orchids. It contains pieces of fern root, pine bark, wine cork cut into pieces, moss, oak or birch charcoal.
- The mixture for planting orchids can be prepared with your own hands. This process is quite troublesome and requires a step-by-step implementation of all actions in accordance with the instructions.
Soil disinfection
When self-preparing the soil, it should be remembered that he needs to undergo a disinfection procedure. To do this, you can use:
- Oven. Place the mixture in a preheated oven to 200 degrees for 20 minutes.
- Freezer. For 24 hours, the soil mixture must be kept in the freezer.
Preparing for transplant
How do I transplant an orchid into a new container? To relocate her, you need to carefully prepare for the transplant. This will reduce the likelihood of possible negative consequences.
Before the procedure, you need to prepare the following inventory and items:
- new pot with drainage holes;
- drainage;
- special soil;
- brilliant green or iodine, for the treatment of damaged areas of the roots;
- alcohol for antiseptic processing of instruments and containers;
- secateurs for removing unusable roots;
- chunks of Styrofoam or whole wine corks will be useful to securely hold the orchid in the pot.

With the help of scissors, dead roots are cut off, the cut is sprinkled with ash
After the first stage, you can proceed to the preparation of the flower itself. The procedure includes the following steps:
- Remove the orchid from the pot. To do this, it must be watered abundantly and left for a while so that the roots lag behind the walls of the pot. It may be enough to knead the walls of the pot and lightly tap the bottom of the palm. If, after these manipulations, the plant cannot be reached, you can cut the old pot.
- When completely replacing the soil, the roots should be freed from the old soil.
- The flowerpot and scissors (secateurs) are antiseptic.
- If pests are bred in the root system, the roots can be immersed in water - then the insects will die.
Transplant methods
Novice gardeners sometimes wonder how to transplant an orchid at home correctly. There are two ways.
Block transfer
In this case, a piece of oak bark, cork, acts as a block. It must be of a suitable size so that the roots can fit well.
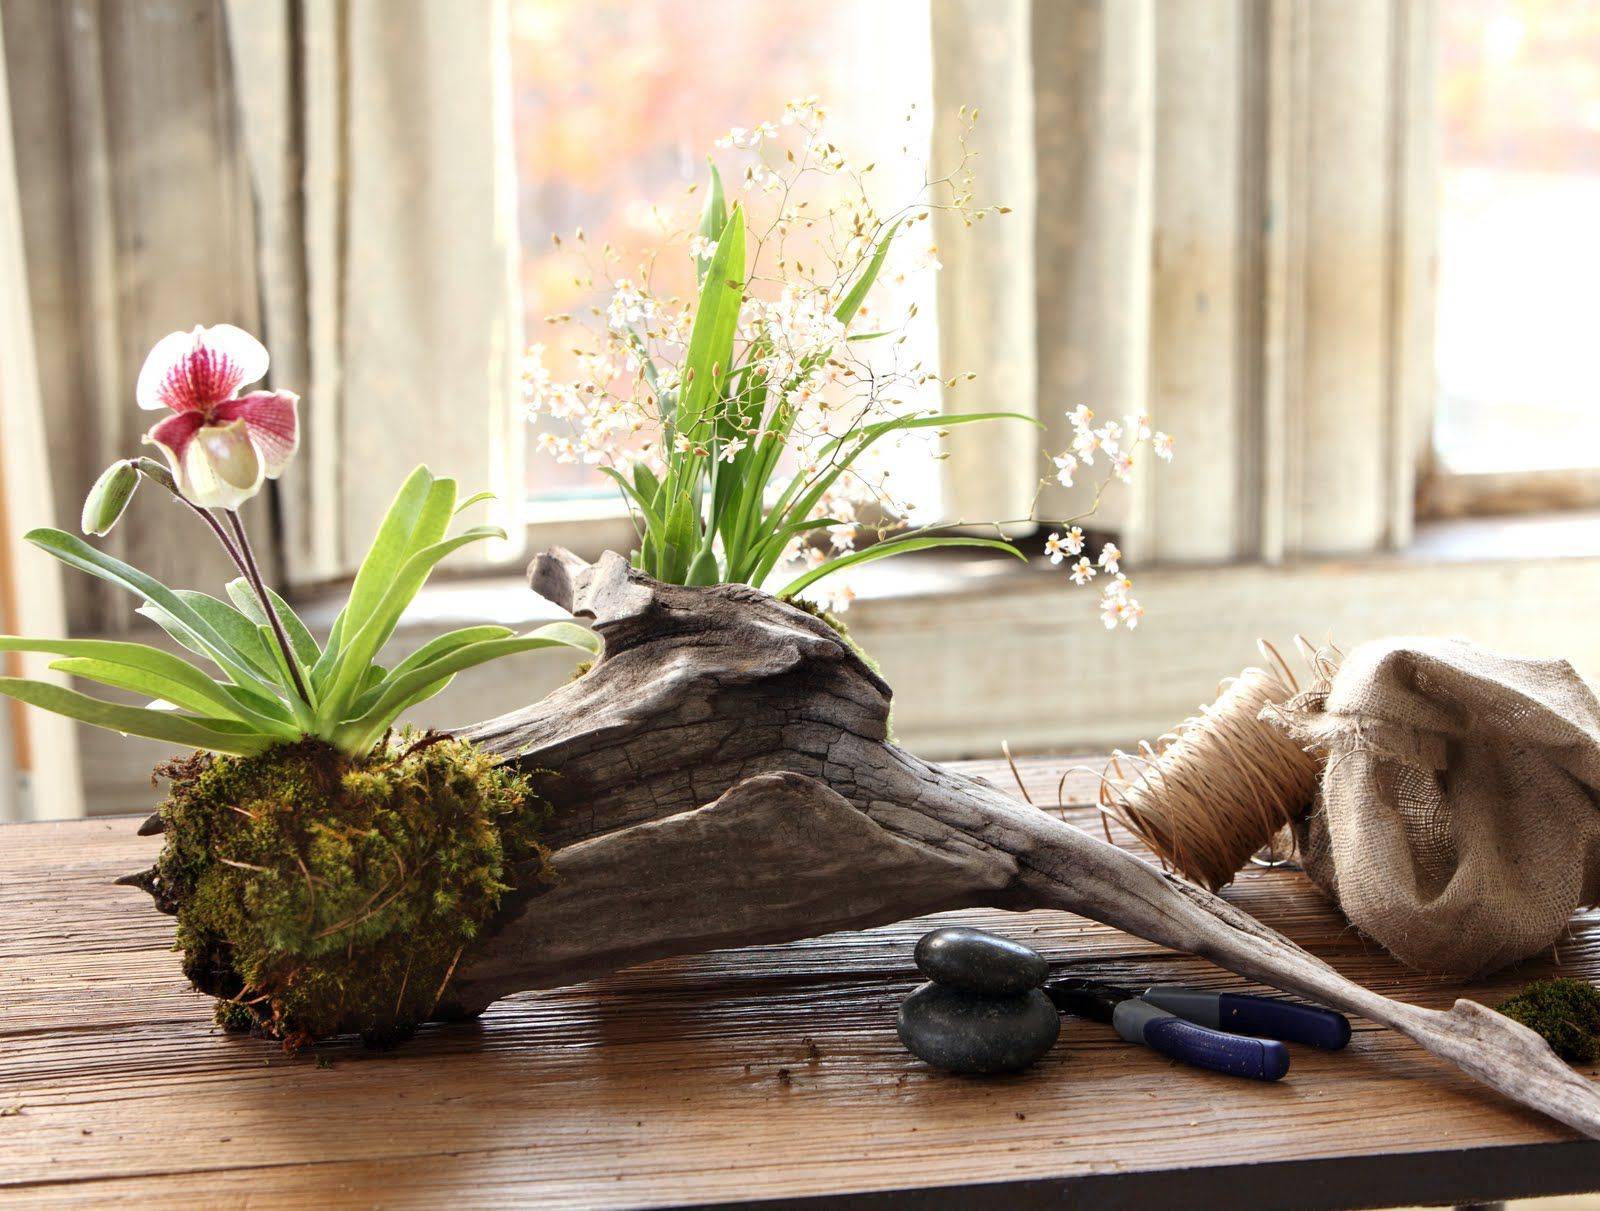
You can use a snag as a block
For fixation, the roots are attached to the block with a fishing line without crushing them. The roots are allowed to be covered with moss on top to avoid drying out. The roots are regularly sprayed with water. A block with a flower can be placed in a decorative planter or hung on a cabinet, wall.
Substrate transplant
How to transplant an orchid into a substrate at home? A flower can also be transplanted into the substrate in two ways: complete transplantation and transshipment.
Florists resort to the transshipment method when the previous substrate has been preserved in good condition, if the roots have grown strongly and do not fit in the flowerpot. A drainage layer is placed in a larger pot and a flower with an old lump of soil is placed in it. Empty space is closed with bark, moss, corks.
In case of stagnation of the substrate, poor water and moisture permeability, it is necessary to make a complete replacement of the soil. For this, drainage is placed on the bottom, and a new substrate is placed on top.The roots of the orchid are cleaned of old soil, bad roots, then the orchid is placed in a new container and is gradually filled with new soil mixture.
Care after plant transplant
After transplanting, the weakened flower must be well looked after, observing all the rules and recommendations.
The orchid is best placed in a room with a temperature of 20-23 ° C without drafts and direct sunlight. It is not recommended to move the flowerpot from place to place. In a shaded place, the orchid should stand for about 10 days.
Orchids are planted exclusively in moist soil, so it is not worth watering the plant for the first 3-4 days. Spraying of moss is allowed.
If the growth of the orchid has stalled, you need to create a more humid environment. To do this, you can create a small greenhouse. The pot with the orchid must be placed in a bag and periodically sprayed inside so that drops do not fall on the flower. You also need to ventilate regularly.
In such conditions, the flower is until growth resumes again. A month after relocation, the orchid should be fed with fertilizer.
Transferring from the shipping pot after purchase
After purchasing an orchid in a store, the question arises: is it possible to transplant a new blooming orchid into another container suitable for the interior. You need to make a transplant as needed or according to plan. If damage to the root system is visible in the pot, black roots, mold, dead parts, the transplant should be carried out as soon as possible.
If the orchid grows well, the leaves do not wither, the roots are in good condition, you should not rush to transplant. It is better to wait for the onset of April, when the day increases, the room is filled with diffused light and is often ventilated.
With healthy roots, it is better to plan a new orchid transplant in the spring.
An orchid in store peat needs watering, it is worth remembering that peat dries out slowly, so in winter they water the flower once a month, and in summer once a week. At the same time, water should not accumulate in the sump.
Typical transplant errors
An orchid can die if a number of mistakes are made during transplantation and in the first few weeks after it.
The most common mistakes are:
- Using unsuitable soil - universal or soil intended for other plants. It is best to consult with your flower shop assistant or experienced gardener about choosing a substrate or making it yourself.
- The flowerpot does not fit. In a pot that is too large, the substrate dries out for a long time, which can cause root rot.
- The transplant was carried out during the flowering period of the plant.
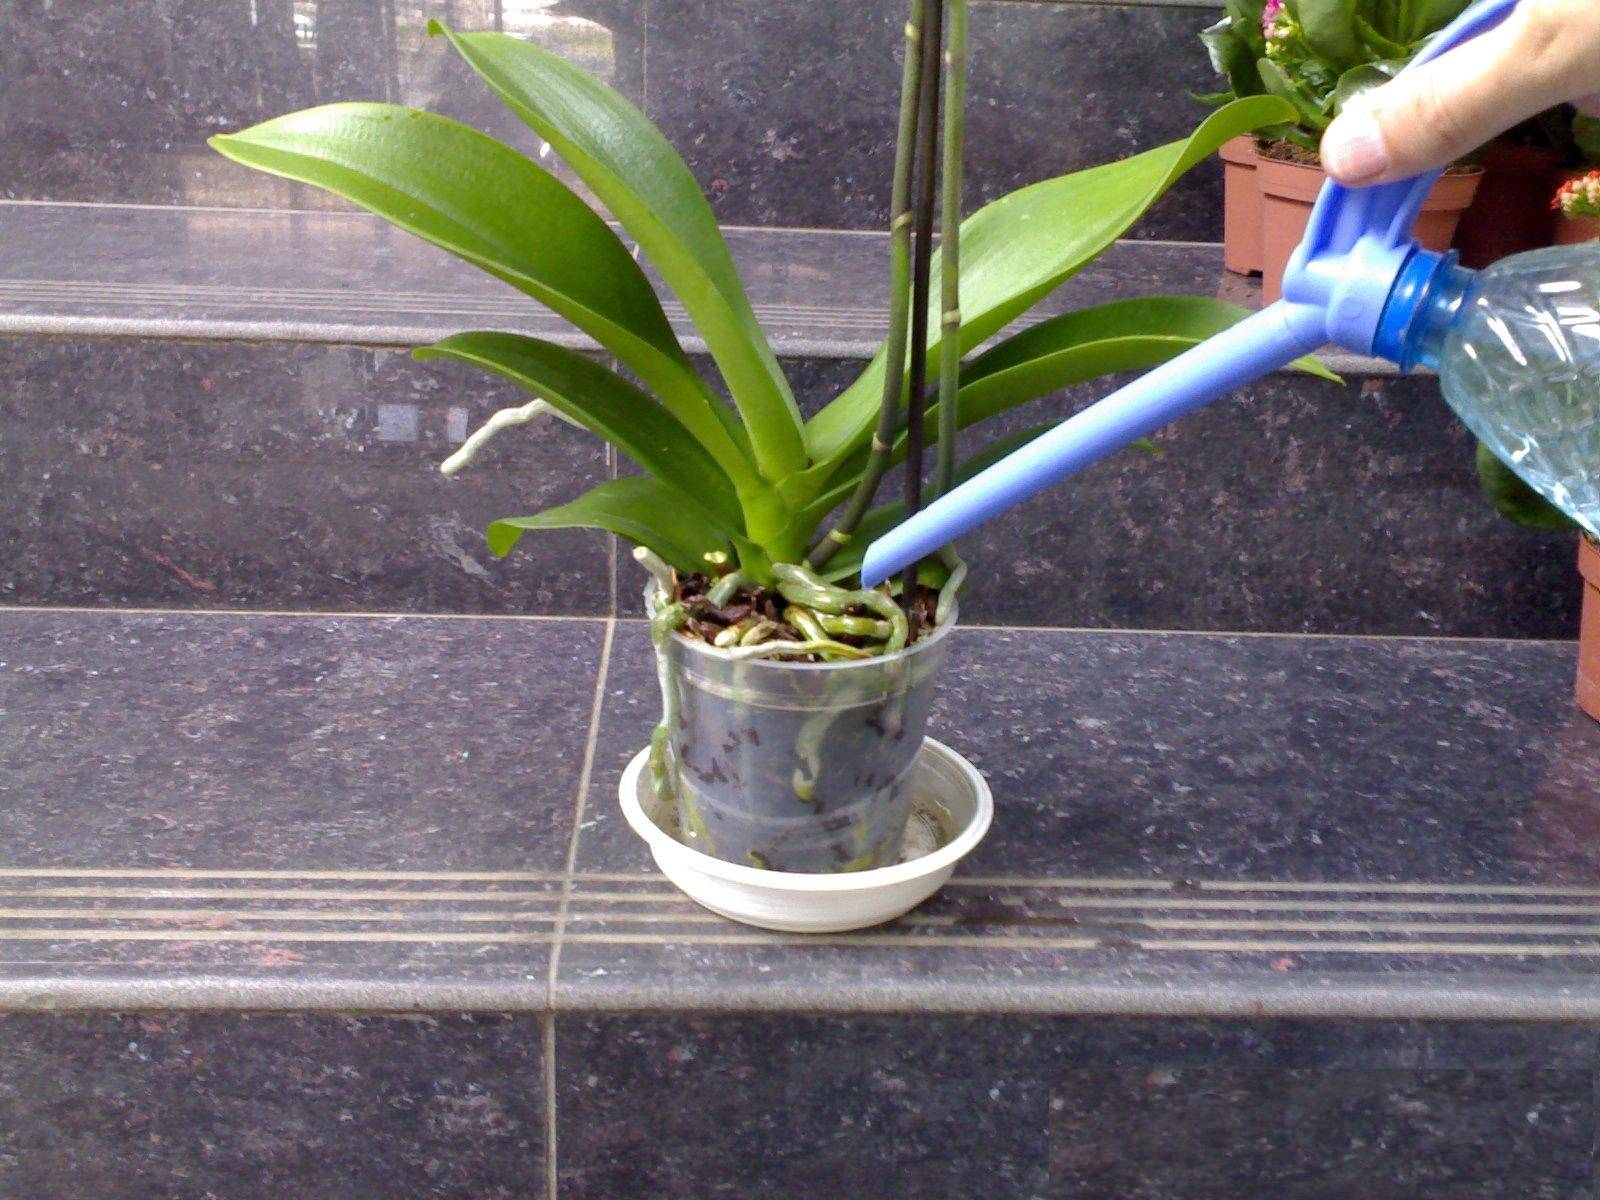
After transplanting, the orchid does not need to be watered for several days.
- The container has no drain holes. In this case, excess moisture cannot escape, there is no aeration.
- The self-prepared substrate did not undergo the disinfection procedure.
- Pruning tools, new flowerpot, were not antiseptic.
- Transplanting by the transshipment method was carried out without examining the root system. Damaged roots remain and hinder healthy growth.
- The cut roots were not burned with brilliant green, iodine.
Orchid transplant is an essential procedure for the growth of a healthy plant. The further life of the orchid and growth depends on the quality of its implementation. Correct grooming after a flower relocation will ensure a quick recovery period from the stressful experience.