How to plant an orchid at home
Content:
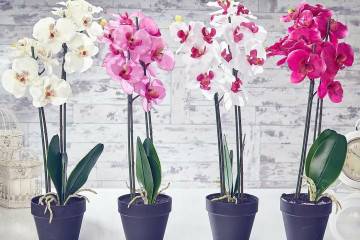
It is always nice to receive a blooming orchid as a gift. However, if you want the flower to stay in the house for a long time, and not until the first period of dormancy, you should transplant it. At this stage, problems often arise, since not everyone knows how to plant an orchid. If you do not know which substrate and pot you should choose, how to treat the roots, the plant may not take root.
Processing an orchid before planting
Planting an orchid at home requires compliance with certain mandatory operations. First of all, it is recommended to monitor the condition of the roots, because if something goes wrong with them, the flower may die in a short time. Therefore, transplanting into a new pot must be accompanied by rhizome treatment.
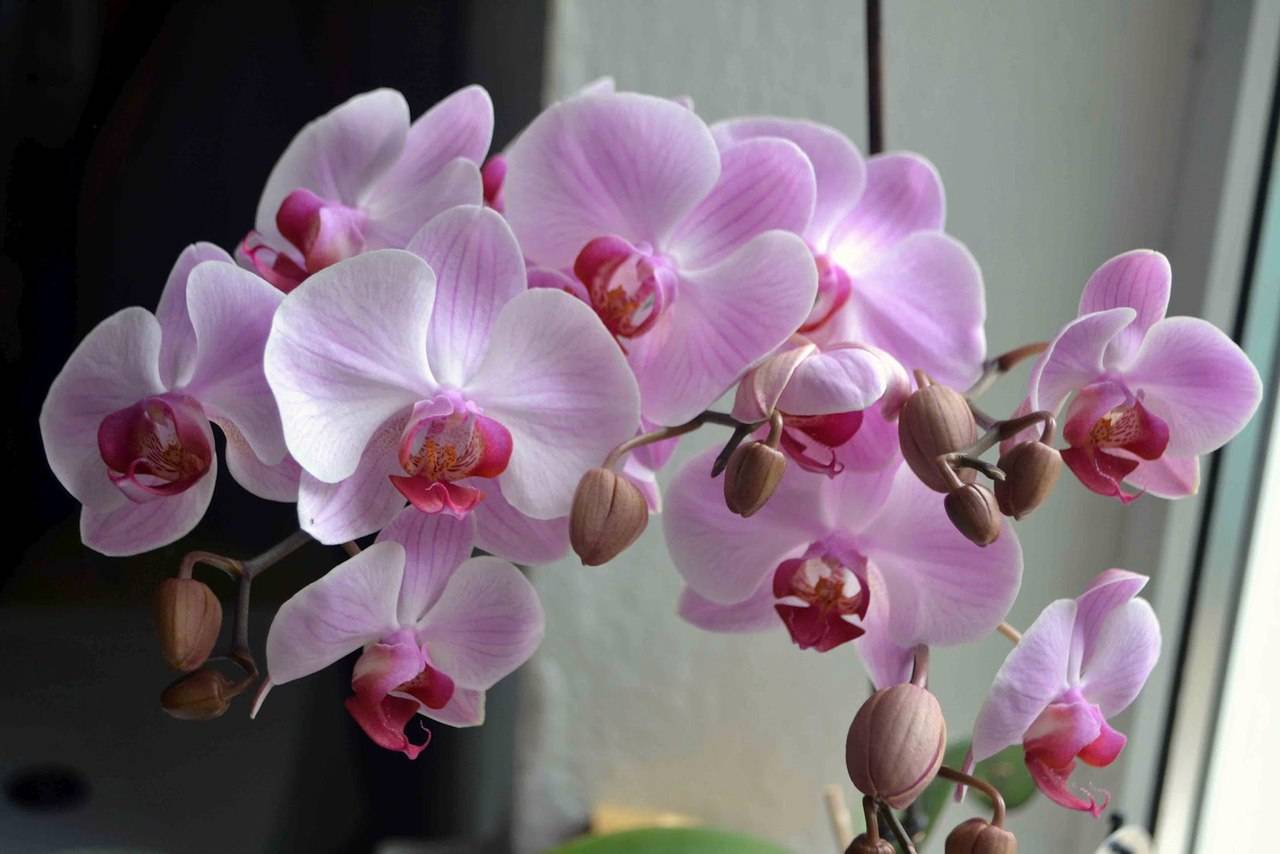
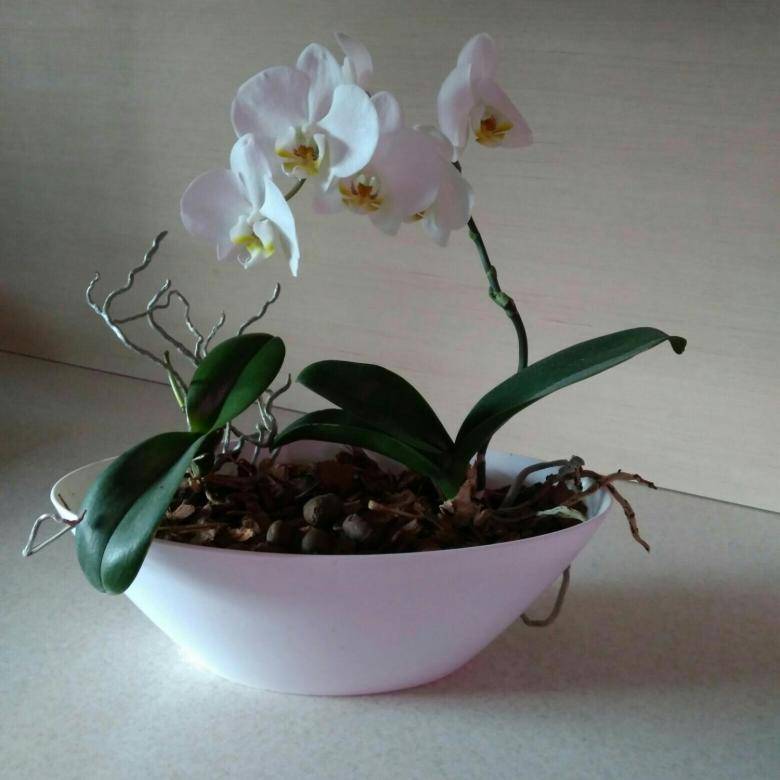
Blooming orchid
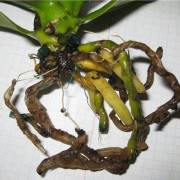
Determination of the state of the roots
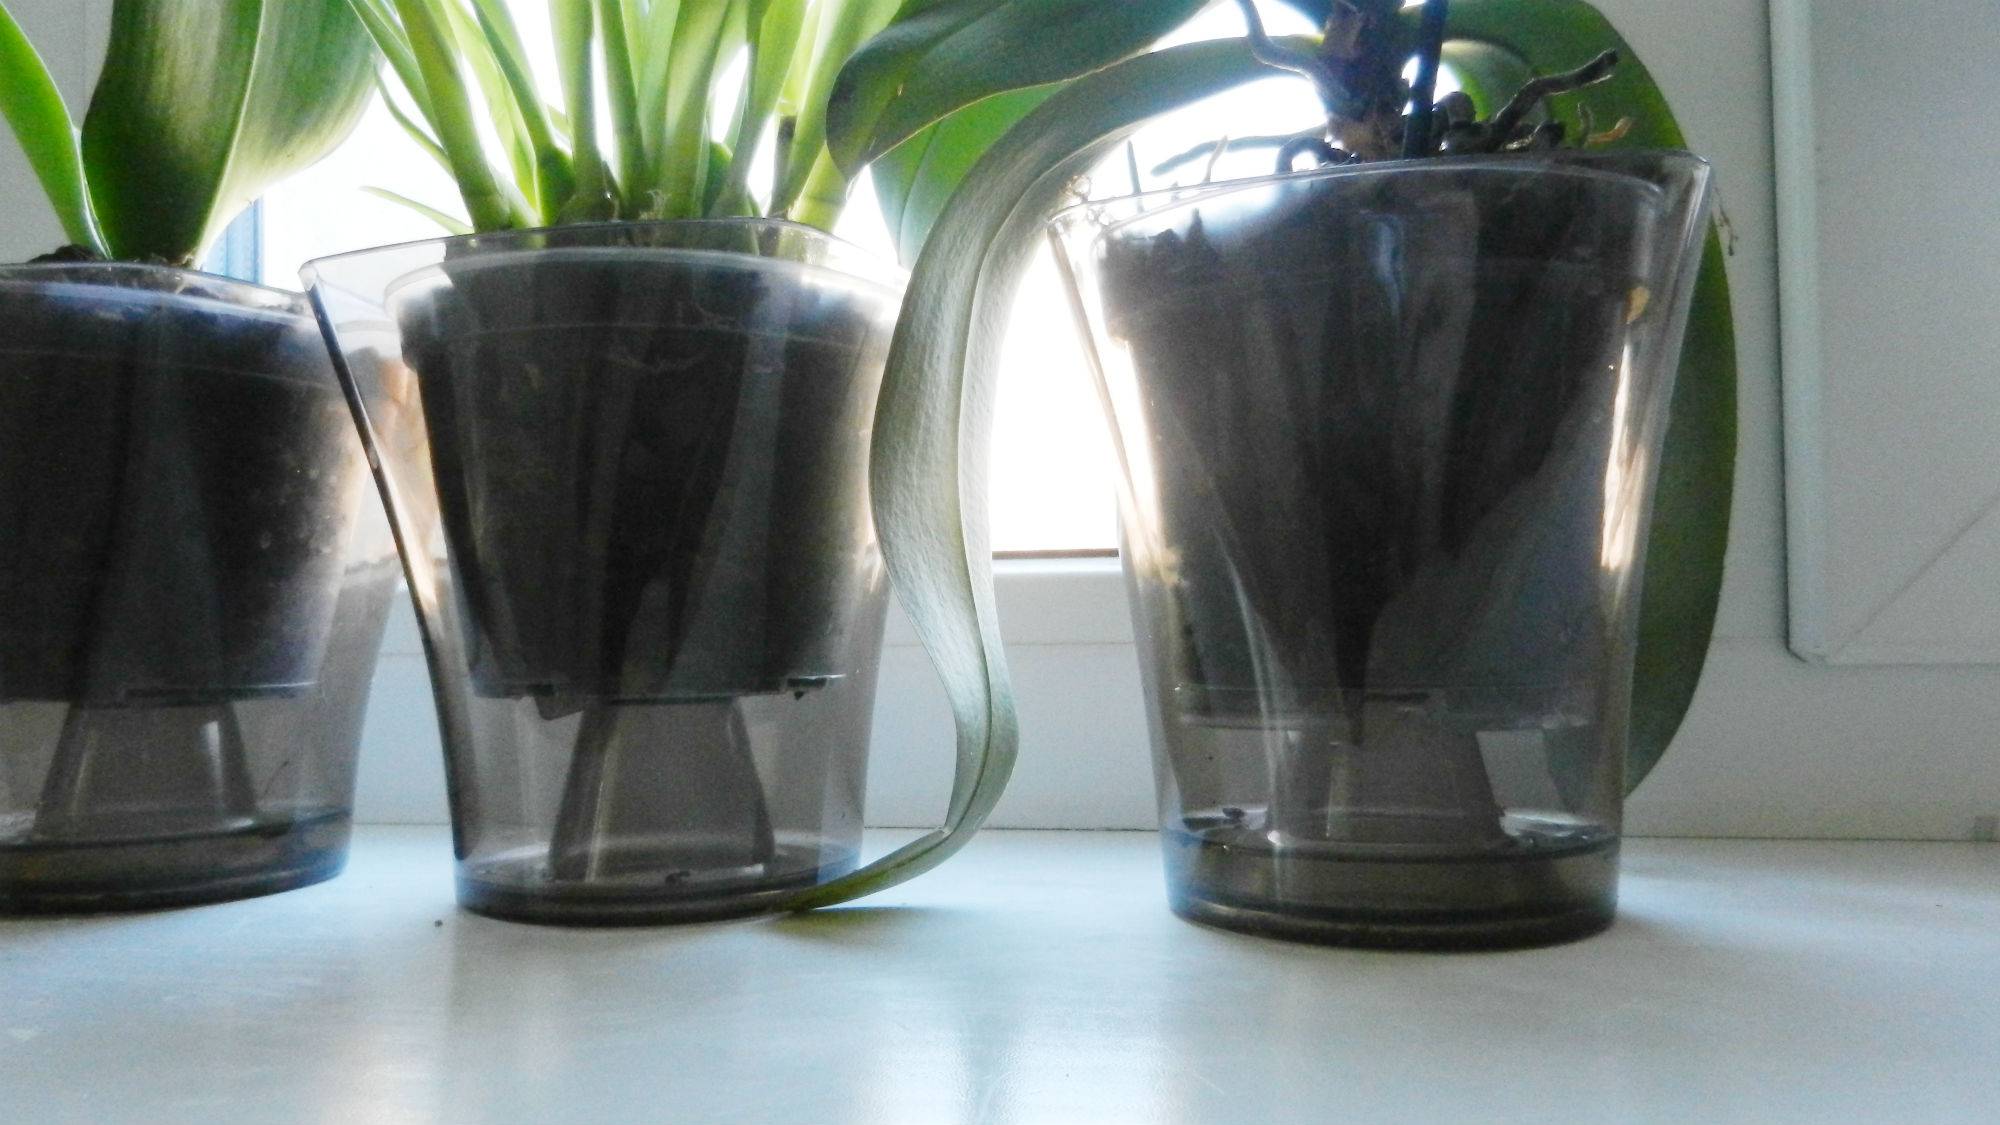
A transparent pot allows you to determine the state of the rhizome of the flower. If the ground does not allow you to see them, you should navigate directly when transplanting. It is not difficult to determine whether the roots are healthy or not:
- green and silver color makes it clear that everything is fine with them;
- if they are brown and look dried out, then they are not healthy.
Unhealthy roots require certain manipulations - they need to be cured and protected, while normal ones just need to be processed.
What to process
If there are dry or rotten roots, they need to be cut to a fresh part, but the cuts should not be left just like that - they require disinfection. Processing can be done by:
- fungicidal solutions with the addition of copper;
- iodine;
- brilliant green;
- activated carbon;
- wood ash.
Many of the disinfectants can be found in your own medicine cabinet, so there is no cause for concern.
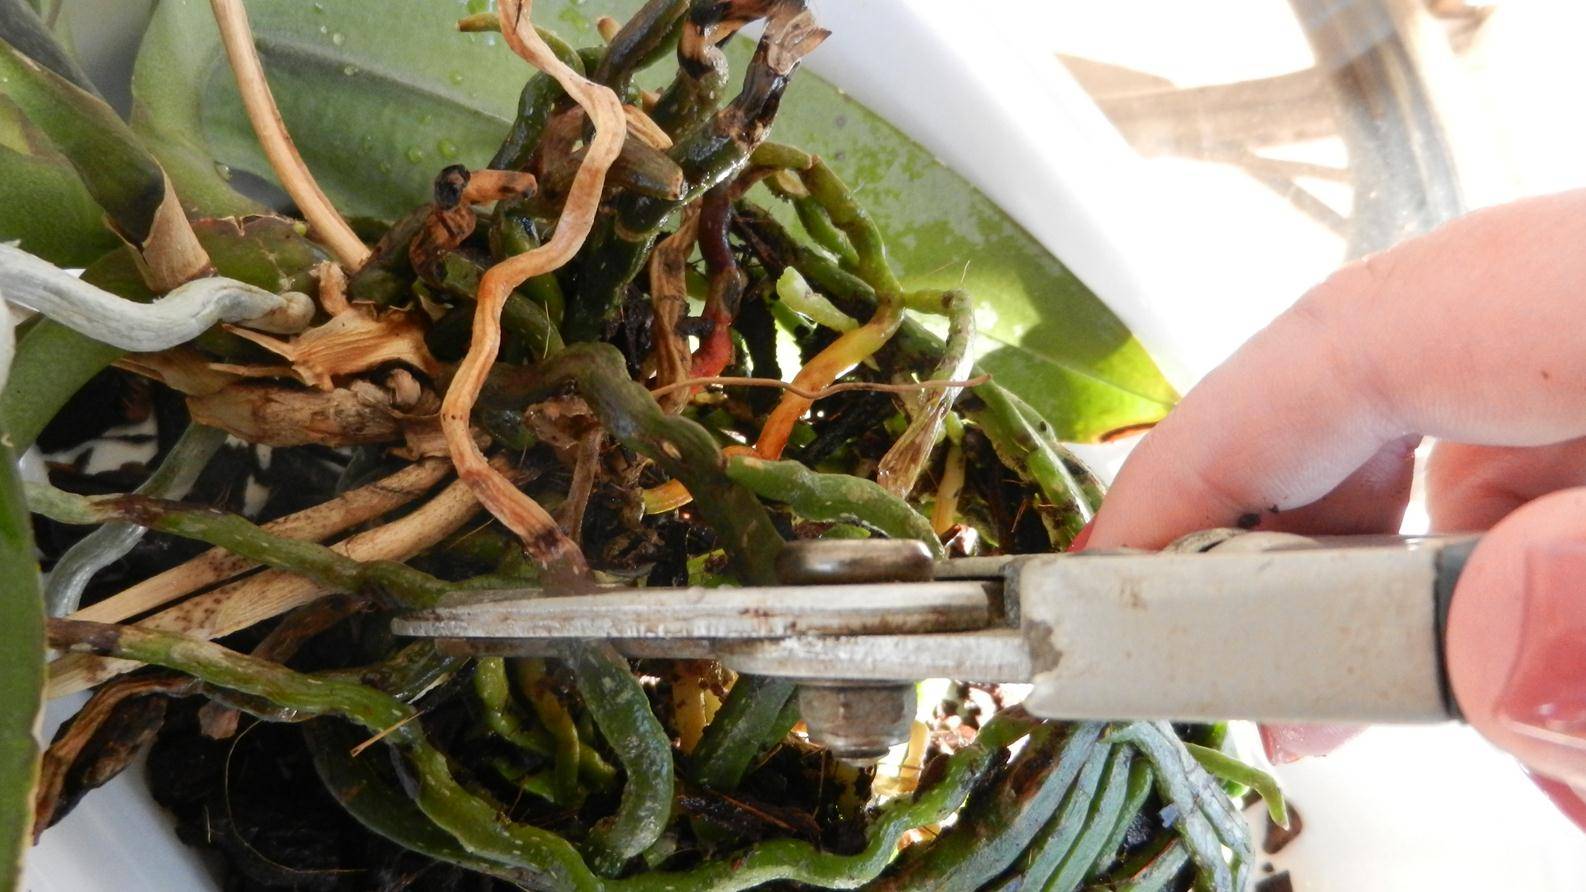
Pruning phalaenopsis roots
How to carry out the procedure
Processing can be carried out in several ways: by watering, spraying or immersing the pot in a solution. It is also recommended to disinfect the substrate - this can be done by mixing with fungicidal powders.
It is worth remembering that organic fungicides do not contain heavy metals, inorganic fungicides contain copper, and biological products are more careful with the flower itself.
Landing methods
The choice of planting method depends on the type of plant, as well as on your own preferences. It is believed that planting an orchid in a block requires less effort and maintenance. However, this opinion can hardly be called true.
After watering, the roots of the owners often dry out, and therefore it is worth watering the plant more often. For reproduction, it is better not to take the seed for planting, the procedure is easier by taking shoots (cuttings).
Block landing
Planting an orchid in a block is the most practical method. It allows you to avoid frequent transplanting of the plant, you can constantly see the roots to inspect the plant. The risk of root damage and decay in this case is minimal.
Landing is carried out in the following way:
- It is worth placing sphagnum moss under the orchid.
- Holding the plant with your hand, spread the roots of the plant, carefully fix it (over time, the flower will attach itself to the block, it is necessary to provide support for the first time).
- Cover the roots with sphagnum moss or bark on top to better retain moisture.
Immediately after transplanting, the plant needs to be mitigated. The orchid needs to be sprayed frequently to maintain high humidity.

Planting an orchid in a block
In the pot
It is necessary to grow orchids in pots if they do not like the complete drying of the soil. For this, it is recommended to choose special containers with a large number of holes designed for planting these plants.
At this point, the question often arises whether it will be possible to plant an orchid in an opaque pot. This is permissible, but then the plant itself may feel worse, and the condition of the roots cannot be viewed.
The landing plan is as follows:
- Prepare the container: make holes in the center and on the walls (if not present). If a clay pot is used, it is worth attaching a metal frame to it, for which later it will be possible to pull out the plant without any problems.
- Pour the drainage into a pot and fill it with a third of the substrate.
- Gently remove the flower from the old pot, shake off the old substrate, rinse the roots with warm water. In this case, the root system should not be affected. It is worth carefully examining the roots and cutting off the rotten or dry ones. Treat the cut sites with an antiseptic.
- Place the flower in the pot in such a way that the root connection remains at the level of the upper edge.
- Distribute the substrate evenly between the roots, set up a support, and gently tamp.
To allow the plant to adapt and take root faster, it is worth changing the care system for at least 2 weeks.
Planting an orchid in a pot
Planting several pieces of orchids in one pot
Some growers don't know how to plant multiple orchids in one pot.
The need for this may arise for certain reasons:
- if you want to pay tribute to aesthetics and watch a large bush bloom;
- if the removal of the baby from the mother leads to her death;
- if there is simply no free space in the house.
But to implement this venture, it is required to create optimal conditions for the growth of all plants. Problems may arise due to the fault of the grower: the disease of one plant can be transferred to others (just as pests attack all flowers at once), the transplantation process becomes complicated, and when the roots rot, it becomes more difficult to diagnose.
If these factors have not discouraged the desire to plant several plants in one container, then this can be done according to the following scheme:
- Pour the substrate into the pot for a third of the volume.
- Place the plants, carefully spread the roots on the surface of the ground (this procedure requires two people for one of them to subsequently hold the flowers).
- Fill the remaining space with the substrate.
Subsequently, it is recommended to take into account the conditions for caring for orchids so that they adapt faster.
Planting 2 orchids in 1 pot
What should be the substrate for an orchid
As a rule, few people know how to plant an orchid correctly. This plant requires a specific substrate. It is an epiphyte, that is, in the wild, it lives at the expense of other plants. The orchid does not grow in the ground, but on the trunks of trees, from where it receives a sufficient amount of nutrients, and receives moisture from the rain.
To grow a plant at home, you should pay special attention to the soil for it.It must meet certain standards: be nutritious, loose, moisture-absorbing. Once every 2-3 years, the flower must be transplanted, since the old substrate has time to deplete by this time.
Is it suitable for earth or expanded clay
Growing an orchid in pure expanded clay is impossible, since this material can only be used as drainage. At the same time, flower growers dislike it, since the porous structure of this ingredient retains moisture, and also accumulates salts, which is why the substrate becomes salty. This reduces the quality of the soil.
Land on its own is also not a good option, since it does not have the qualities that orchids require to maintain normal life. It is imperative to add other components to it: sphagnum moss, tree bark, coal, and so on.
Hydrogel
You can also grow orchids in a hydrogel. This polymer material is distinguished by the fact that it absorbs moisture, and then gradually gives it to the plant.
If you buy hydrogel balls, then they look relatively beautiful from the side. On the other hand, this is impractical - the flower does not receive enough oxygen.
Coconut flakes for orchids
Coconut substrate has become quite popular recently among flower growers. Do not assume that these are common shavings sold in many grocery stores. In this case, we are talking about coconut peels and shells pressed into briquettes.
These ingredients are washed, dried, sterilized and crushed, and then pressed to make it easier to transport the raw materials.

Planting an orchid in a coconut block
Advantages and disadvantages
A significant plus of coconut fiber over all other substrates is that it is an environmentally friendly product that can be used as an independent substrate without adding other ingredients.
At the same time, it should be noted that the environment does not have foreign impurities and is ideal for growing an orchid: it has normal acidity, and is well water and air permeable.
The main disadvantage is that the soil retains salt, which is why the acidity of the medium can change in a fairly short time. This degrades the quality of the substrate, changing its moisture content and throughput.
Use cases
There are 2 ways to plant an orchid in coconut substrate:
- use the whole briquette as a block;
- soak the block, divide it into fibers, use it as one of the ingredients for making soil.
Due to its qualities, this component will be a good helper for growing orchids at home.
Plant adaptation after planting
If the plant was transshipped with an earthen clod, it is recommended to water the plant immediately after transplanting. If the integrity of the roots has been violated, then this procedure is not postponed for some time. For accelerated rooting, you can water the orchid with Kornevin.
Fixing in a pot
To fix an unstable plant in a pot, it is recommended to use nylon tights for women. They should be cut into ribbons and carefully tied to the pot in such a way as to completely eliminate its movement. You need to carefully tie the ribbons to the base of the stem and then tie them to the bottom of the pot.
Fastening can also be done with bamboo sticks: they are inserted vertically into the pot, and then connected to the stem with wire.

Securing an orchid in a pot with ribbons
Care after landing
In order for the plant to feel good, certain rules must be followed:
- do not place the flower pot in direct sunlight;
- observe the temperature regime at 18-25 degrees;
- feed once every 20 days in the phase of active growth;
- flush the soil once a week with running water to remove mineral salts.
Sunlight is important for orchids, but it should be diffused (for example, with gauze). Daylight hours should be at least 12 hours, and therefore there is a reason to buy a special lamp for plants.
Moderate watering is as important for an orchid as the way it is done (running water for a few minutes, in a sump, or dipping it into a basin). In the summer, watering is worth a couple of times a week, in the winter once every 2-3 weeks.
Orchid is a favorite plant of many flower growers. Despite its exoticism, this is an unpretentious flower, however, it is worth knowing certain rules of care so that it takes root and blooms from year to year.