Iris care after flowering - when to prune the leaves
Content:
On sale today you can find a colossal number of multi-colored varieties and types of garden irises. Common to all of them are the rules for leaving after flowering. Following them, you can admire these delicate and sophisticated flowers in your garden every year.
Iris care after flowering
Lush and vibrant flowering in various varieties, for example, in the bearded, can last up to 3 weeks in a row. After that, dried stems of flowers remain sticking out of the rosettes of the leaves, which must be removed. This is done not only for decorative purposes, but also to prevent the appearance of diseases.
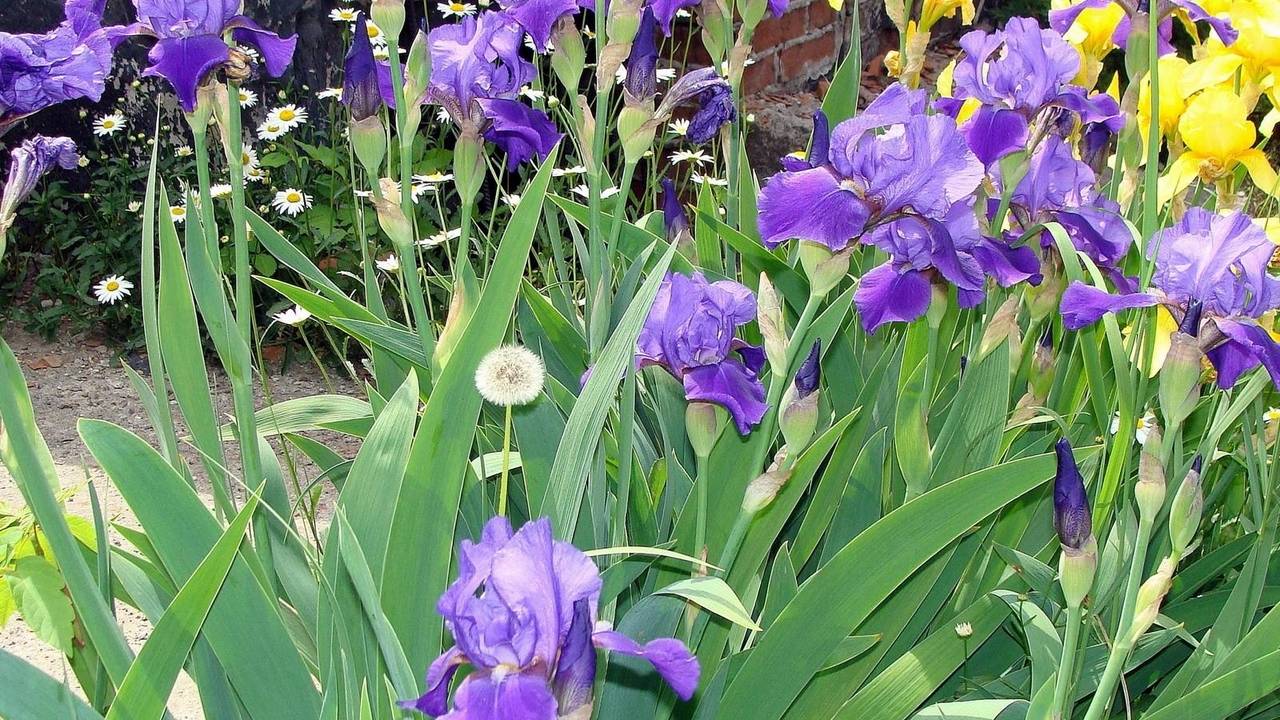
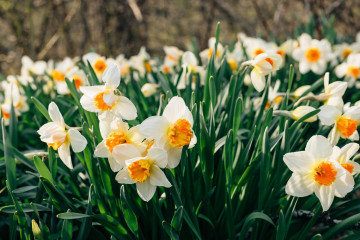
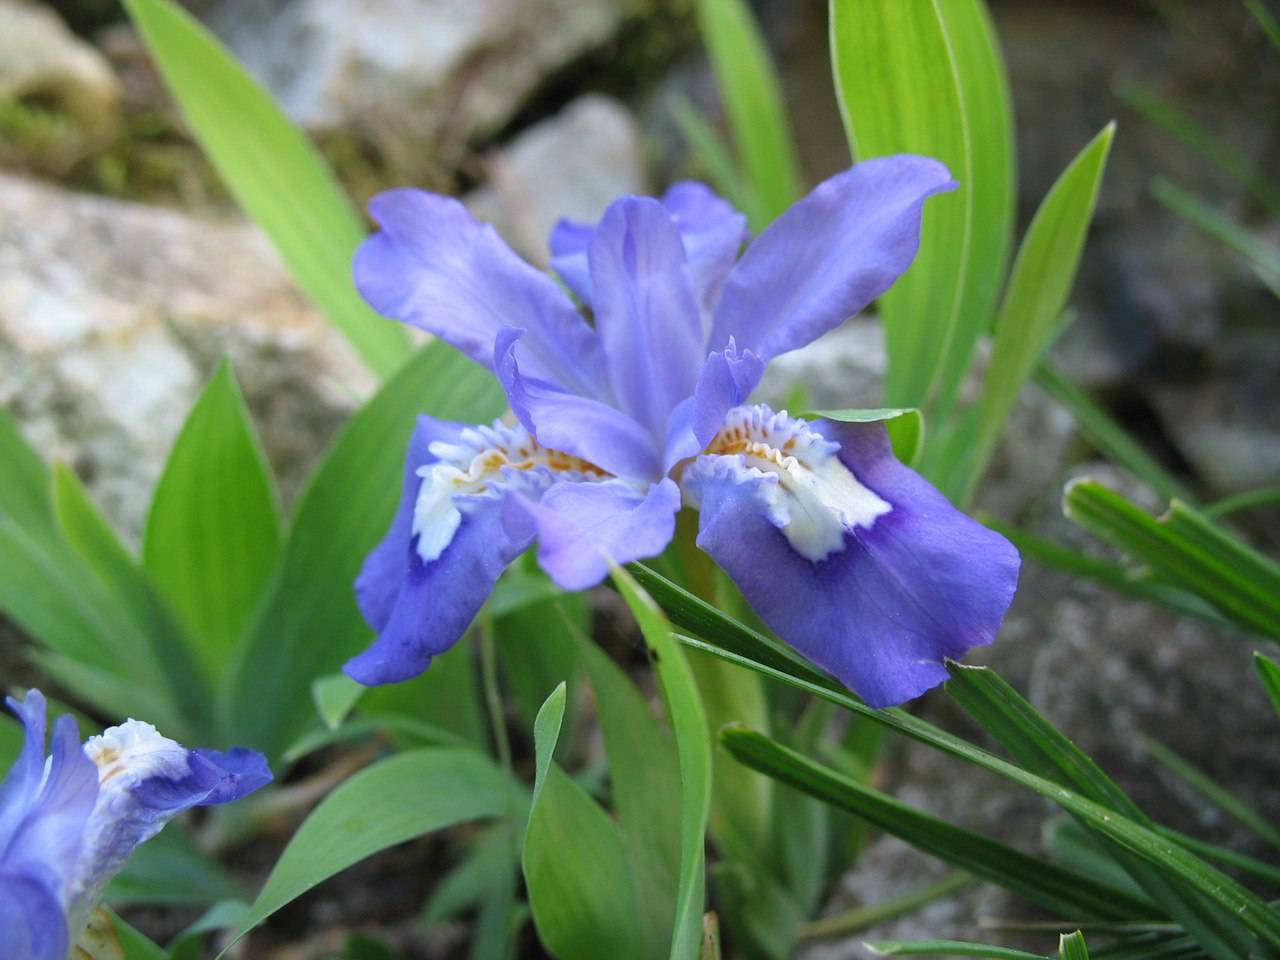
Irises on a flower bed in spring
Irises have faded, what to do with them next
When the flowering season is over, it is necessary to carefully cut out all the wilted flowers, but do not touch the leaves. During the rest of the warm season, the photosynthetic processes taking place in the green terrestrial part of the plants continue to supply the roots with nutrition. The rhizomes of irises winter painlessly in the open field, but for this in the summer they must receive all the substances necessary for life.

Withered iris
Removing individual flowers, stems and foliage
As soon as the petals wither, cut the stems to the base with a sharp secateurs. They do this to restore the aesthetics of the flower bed, as well as to save power. The remaining uncut flowers can become sources of putrefactive processes.
How to get iris seeds after flowering
The most common breeding method for irises is by dividing the rhizomes. But the seed method is also widely used. It is in this way that flowers of new shades are obtained. If seeds are needed, then the strongest pollinated flower is left, and all the others are removed. The plant will have to spend a lot of energy on ripening the seeds, therefore they do not resort to growing them every season.
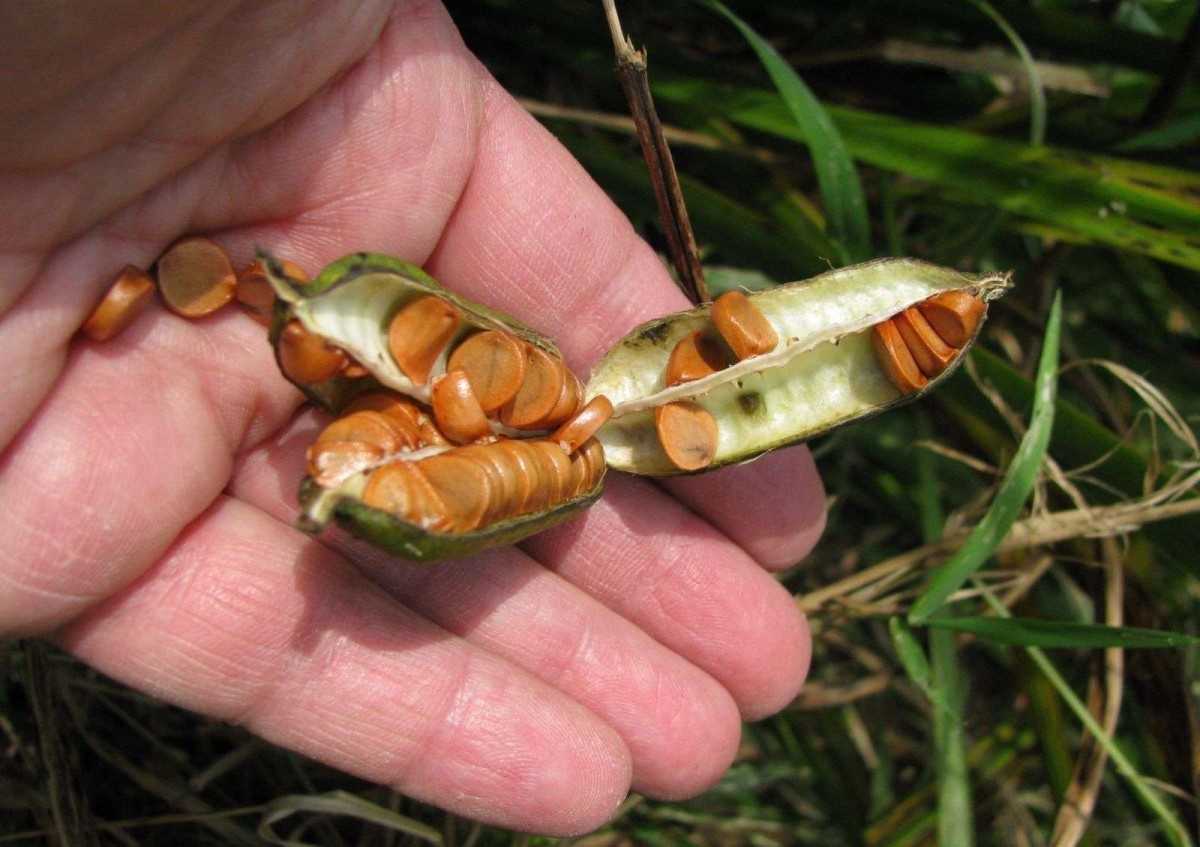
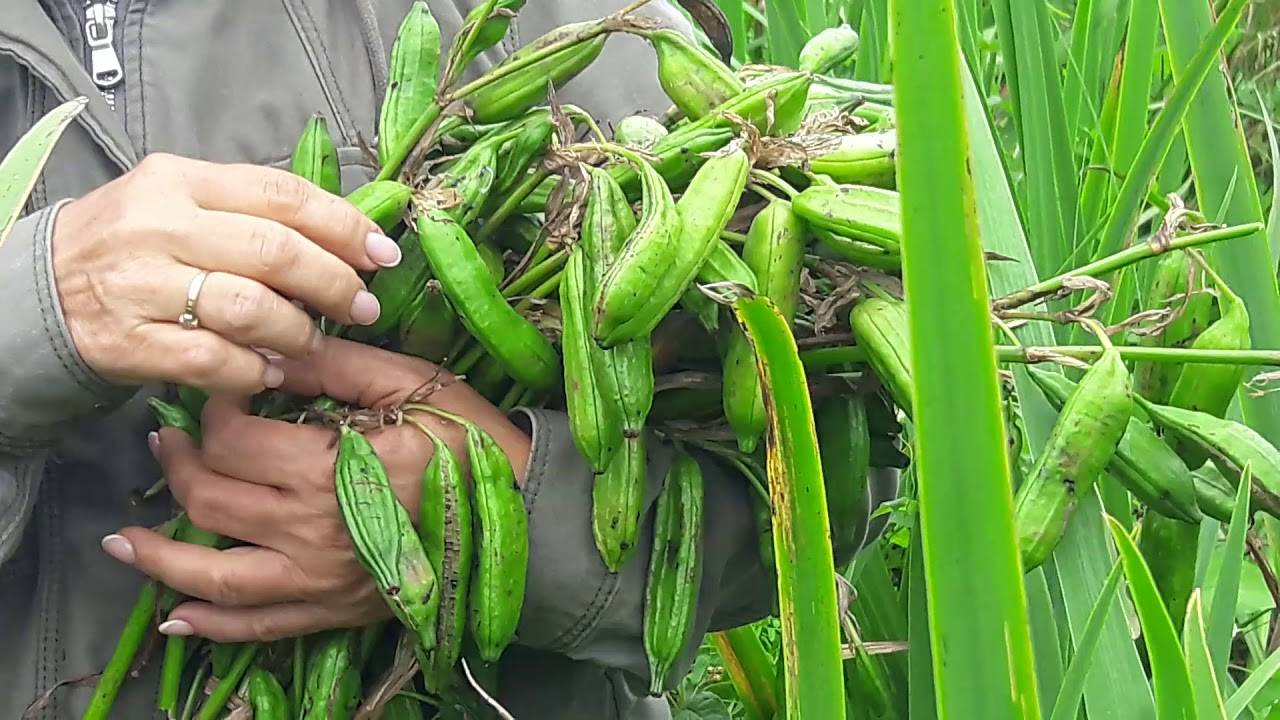
Iris seed pod
Seed collection and germination
It is difficult to miss the ovule, its size is not much inferior to the size of the flowers. Once it is ripe and dry, it will open easily. There will be a lot of large enough seeds inside. If you miss the time, then from the bursting capsules the seeds will fall into the soil by self-seeding. This should not be allowed, so they do not wait for complete drying.
Store fresh seeds in a dark, dry place, wrapped in a paper bag. It is not worth storing in polyethylene, since there is a great risk that insufficiently dried seeds will become damp and moldy. Prior to the expected sowing date, 2 days in advance, the seeds are soaked in a damp cloth and left in the refrigerator.
Collecting iris seeds
When to prune irises after flowering
Since on each peduncle there may be not 1, but several gradually blooming buds at once, you should wait until all of them bloom and fade. Only after that do they start cutting out the dried parts.
Do I need to trim faded irises
Trimming the peduncles is carried out, leaving "hemp" no more than 2 cm long. It is strictly forbidden to cut the leaves at this time, as this is fraught with the death of plants. You can only remove dried (strongly yellowed) leaves, as well as dry tips, in order to avoid fungal infections settling on them.
When to prune iris leaves
Usually these flowers are pruned to their growing points in the fall. But in the summer, pruning is quite acceptable. If you wish, you can dig out the rhizomes, divide and transplant into new areas. In this case, the sheet plates must be cut by 70%.
When and how to prune irises in the fall
Autumn pruning is part of the preparation of flowers for wintering. Before the onset of persistent frosts (usually in October), the entire ground part is cut off. From the growth points, you can leave no more than 15 cm above the soil surface by cutting off the fan of foliage with a cone. Everything cut is best burned.
Rhizomes, which have grown slightly upward over the summer, should be sprinkled with a layer of soil mixed with peat. Shelter will be required in areas where winters are frosty and snow often does not fall.
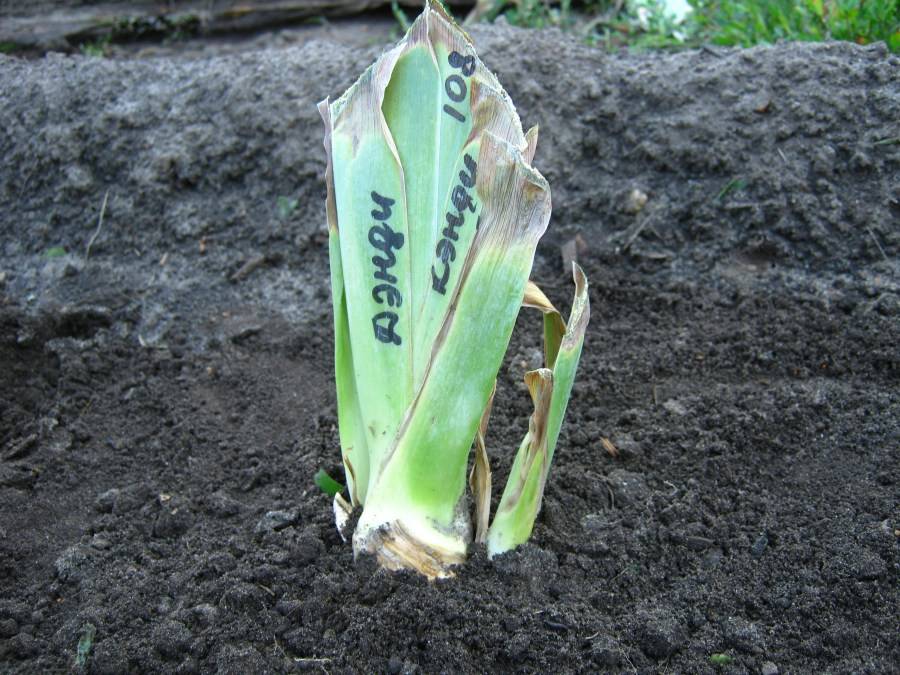
In autumn, irises are pruned, and you can also sign varieties
Features of pruning some varieties
The newest bulbous varieties require a slightly different approach in comparison with rhizome varieties. When their bloom ends in July, the bulbs need to be dug up. At this time, the ground part is cut off completely. Only the roots are left on the bulbs and placed in a dark, dry place to dry. They are planted back into the soil in the fall. This must be done when the soil temperature drops to + 10 ° C.
Fertilizing irises after flowering
Shrub irises should be fertilized immediately after the snow melts and at the budding stage. If at this time the soil is fertilized first with nitrogen and then with phosphorus-potassium fertilizer, then the flowers will be larger. But you need to feed it at the end of flowering. This stimulates the formation of new buds, the growth of rhizomes.
Fertilizers for lush iris bloom next year
2-3 weeks after the end of flowering, phosphorus-potassium dressing should be applied to the soil. To do this, dissolve 2 tablespoons in 10 liters of water. superphosphate and 2 tbsp. potassium salt. If you use natural fertilizers, then you can replace the mineral dressing with an infusion of wood ash: 1 glass per 10 liters of water.
How to split irises
It is undesirable to leave irises in one place, like rhizome peonies, for more than 5 years. In the 6th year, they need to be dug up, divided into parts of the rhizomes and planted in new places.
Transplanting irises in autumn
In hot and dry climates, the transplant is carried out in August, early September. In other regions, the transplant is carried out in September. October is no longer suitable, as the rhizomes will not have enough time to root.
Site selection and soil preparation
Light-loving flowers are planted in sunny areas, where there is a lot of sun and good ventilation. Irises do not like shade and moisture stagnation. Decay of rhizomes occurs when there is an excess of water in the soil, because of this, fungal diseases, mold (flowering) may appear.
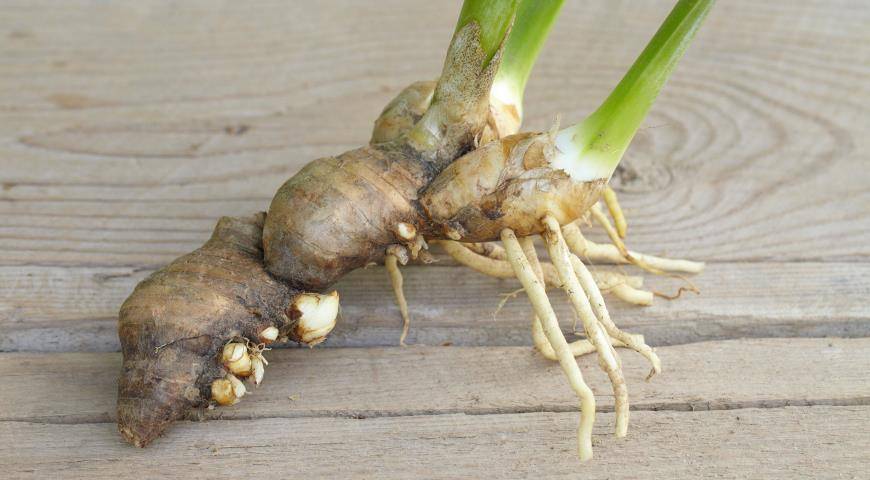
Appearance of healthy iris rhizomes
Heavy and acidic soils, poorly permeable to air and moisture, are not suitable for irises. They respond positively to loamy soils with a neutral acid-base reaction. The landing site is prepared in advance, carefully digging and loosening the earth.
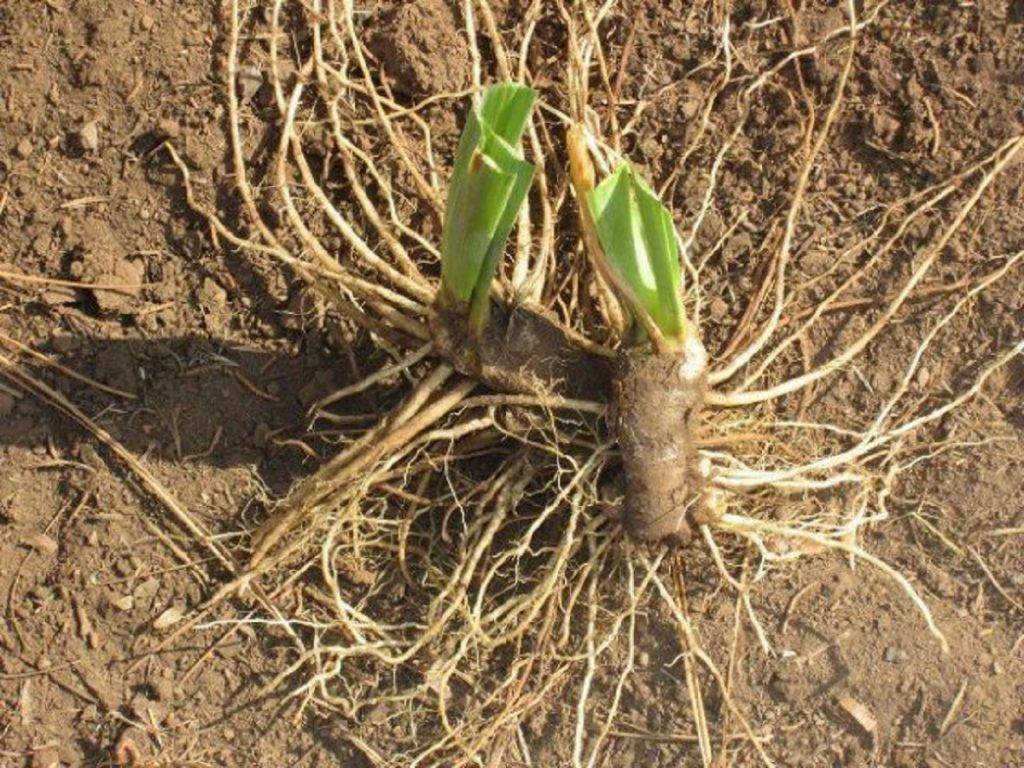
Preparing for planting iris in open ground
Before planting, you should prepare the soil and the plants themselves.Old and large plants are dug out using a pitchfork, gently shaking out the rhizomes from the soil. Since the roots are quite fragile, damage cannot be avoided.
They dig out everything, divide it into parts, and then distribute it over a previously prepared area. It is recommended to rinse the excavated rhizomes to inspect. In the process, diseased specimens will be identified and discarded.
The leaf plates are trimmed with a sharp, alcohol-disinfected pruner, forming a short wedge-shaped fan. After that, the whole plant is dipped in a previously prepared solution of a fungicide or potassium permanganate for thorough disinfection.
Ready planting material
Further, all the necessary fertilizers are applied to the soil. Organics should not be used at this time. Instead, they take wood ash - it is thrown into each hole 1-2 handfuls, as well as superphosphate, potassium sulfate or potassium monophosphate.
Preparing irises pits
In loose and fertilized soil, they dig planting holes about 20 cm wide and deep. It is not recommended to deepen the rhizomes deeper, as this can cause them to rot. The optimal location of the top of the roots is slightly below ground level. You can plant in groups of 3-4 plants. Slices must be sprinkled with crushed coal or other antiseptic. To carry out planting work, you should choose a dry day, in rainy weather it will be harder to work.
How to arrange iris combs
So that in the future the plants do not interfere with each other, a distance of about 50 cm is left between them. This is quite enough to feed the underground part, as well as for the growth of lush ground fans from the xiphoid foliage. At this distance, planting ridges can be formed. Soil mounds about 10-15 cm high will accurately indicate the location of the rhizomes and protect them from freezing in winter.
Good results are shown by sprinkling the soil with coarse-grained river sand. It performs several useful functions at once:
- It allows moisture to pass through itself without retaining it on the surface.
- Prevents weeds from growing.
- Prevents the formation of foci of mold in regions where the summer is very rainy and there are not many sunny days.
Landing scheme
How exactly to plant a particular variety depends on its characteristics. Dwarf irises are planted in rows at a distance of 50 cm from each other, leaving 15 cm in a row between individual specimens. High varieties are placed wider from each other (the correct distance is from 30 cm).
Group landing is also used. In this case, the rhizomes are planted in several pieces, leaving 30 cm between them. Separate groups are separated by a distance of 50-70 cm. As a result, picturesque spots are obtained in spring when they bloom in spring.
How to properly plant a faded iris sprout
In a hole dug in a flower bed, a sprout is lowered strictly vertically. Followed by loose soil and watered. Water every 3 days for 2 weeks. Further - only as needed, depending on the weather. It is important to prevent rhizomes from rotting in excessively damp soil. It is quite enough to perform a transplant once every 4-5 years.
Shelter for the winter
Frost resistance is a characteristic that differs in different types and varieties of irises.
What varieties need to be covered
The least winter-hardy are the bulbous varieties bred in Holland, as well as planting material from Spain and Japan. Among rhizome irises, low frost resistance in lacustrine, unnamed and comb irises. The same can be said about the tallest bearded specimens.
Lake iris
The irises of Vinogradov, Dunford, net are adapted to wintering conditions in the middle lane. Planting of bulbous varieties from Great Britain showed good results.Dwarf iris, Bieberstein's and leafless ones winter just as painlessly. Well, the champions in winter hardiness are deservedly beardless varieties: bristly, Siberian, marsh, yellow, oriental.
Preparing for winter
Before starting covering work, you should prepare the soil. The aisles are cleared of litter and weeds, loosened. Planting is watered with fungicide solutions.

Bristly iris
The most winter-hardy species do not harbor. And all the rest, after trimming the foliage, must be prepared for winter. The shelter is made when the frost has already begun. At this time, rain replaces the first snow, and at night the air temperature stably becomes negative (usually in November).
It is impossible to make shelter too early, as rains can lead to the drying out of the rhizomes. As a covering material, you can use a variety of materials at hand: humus, peat, straw, wood chips, pine needles. The optimum fill thickness is 10 cm or slightly more. It is even better to cover the flower bed from above with spruce branches.
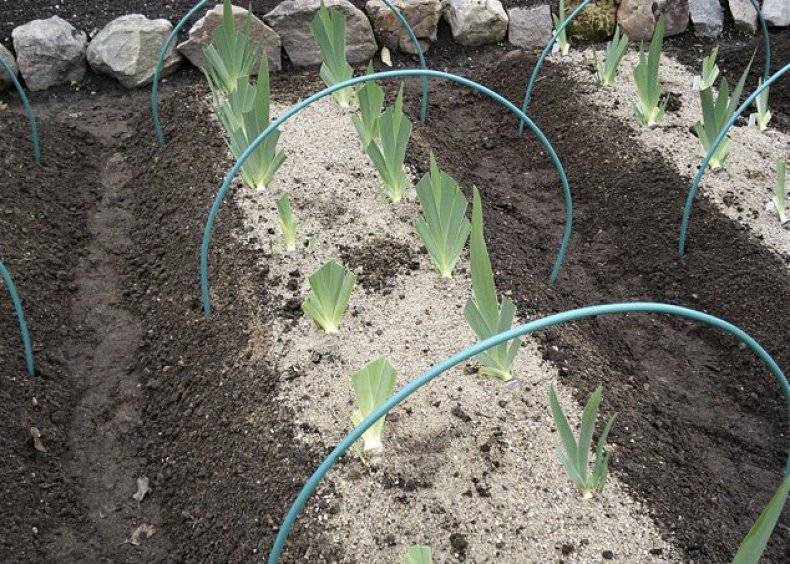
Arcs for stretching the covering material over the irises
If, with all the efforts made, it turns out that by the spring some or all of the rhizomes are frozen, this indicates the need to dig irises for the winter. This is done in the fall, when the ground part dries up. Rhizomes are dug up, washed, dried for about a month in a dark place at a temperature of +25 ° C. Then the planting material is removed to the basement, where it is stored until spring.
When they take shelter and how they do it
As soon as the spring warmth returns, the shelter from the flower bed must be removed. Together with melt water, the first green sprouts of irises appear above the soil. It happens that in the winter months some of the plants have suffered from frost. Medical measures are carried out especially for them:
- All rotten is cleaned off to healthy tissue.
- The sections are treated with a saturated violet potassium permanganate solution.
- Sprinkle on top with wood ash or crushed charcoal.
If successful, bloom can be expected this summer, and the decay processes will be stopped.
The planting of irises on the site must be looked after before flowering and after its completion. Top dressing, timely pruning, watering - all this will certainly bear fruit. With each subsequent year, the flowers will become larger and more numerous.