How to propagate host
Content:
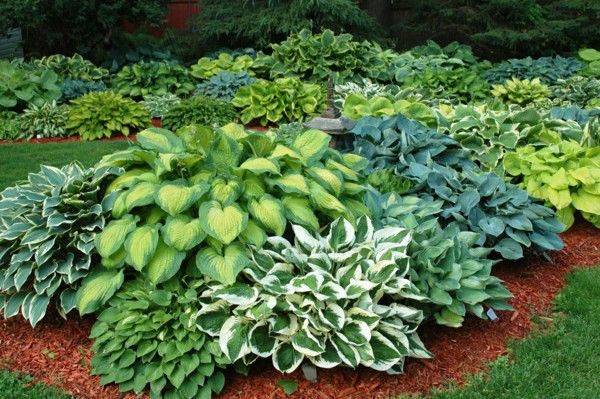
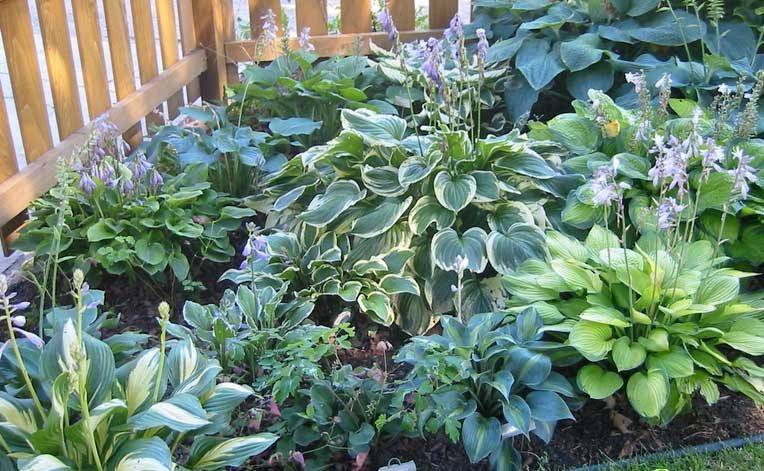
Gardeners and lawn decorators love the hosta (funkia) for the beauty of its leaves and the splendor of the bushes. In shady areas, most flowers grow reluctantly, but this member of the Asparagus family needs very little sunlight. In addition, it is unpretentious in maintenance, durable, cold-resistant and rarely prone to disease. Growing up, hosts form whole islands of decorative juicy greenery and do not allow weeds to break through.
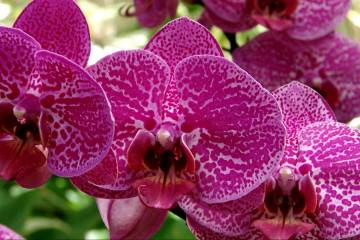
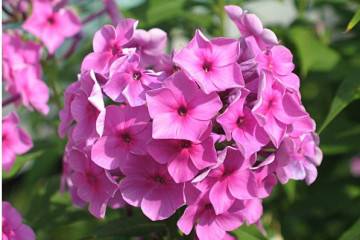
The colors of the queen of a shady garden, depending on the variety and type of hybrid (and there are now more than 2000 of them), are very different: bright green, bluish, golden, with light contrasting stripes. The shape of the leaves and their size, as well as the flowers, are very diverse. On flower beds, funkiya is perfectly combined with other shade-loving flowers, such as phlox, irises, peonies, lilies.
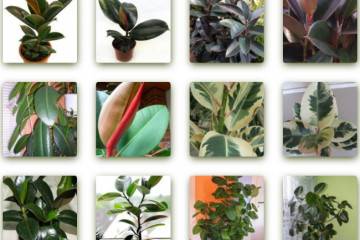
Various types of host
How the host reproduces
The plant is considered universal in terms of reproduction. If you do not take into account the cloning of the Invitro function, which is used on an industrial scale and consists in growing young flowers in test tubes from literally several cells, there are as many as three options for propagating the host:
- dividing the bush;
- cuttings;
- seeds.
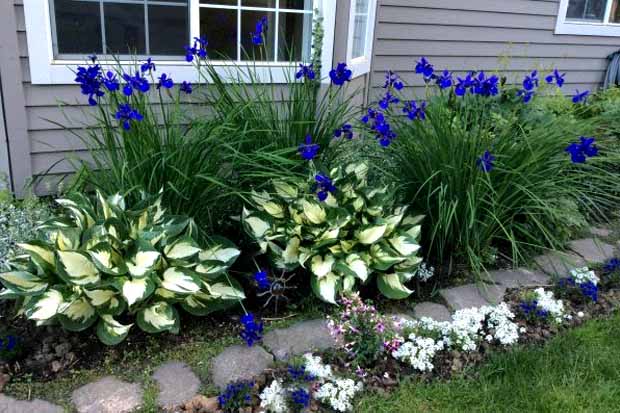
Combination of hosts and irises
The presence of mature plants, the purchase of seeds or cuttings - the way how to propagate the hosta depends on this in each case. Any of these methods can be used on the garden plot.
Dividing the bush
The most popular and fairly simple breeding method is to divide the overgrown plant into several parts.
When to split a bush
The best time is considered the end of spring - the beginning of summer, but many gardeners do it in the fall. In principle, it is not so important when to divide the hosta, the main thing is not to do this during flowering and ripening of the seeds and to have time at least a couple of weeks before frost so that the plant has time to take root.
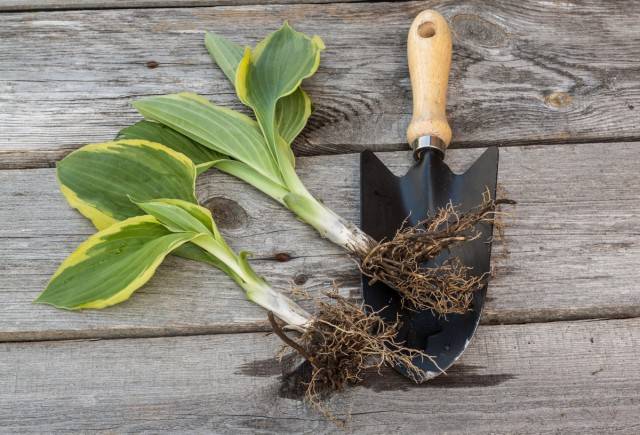
How to split a host into parts
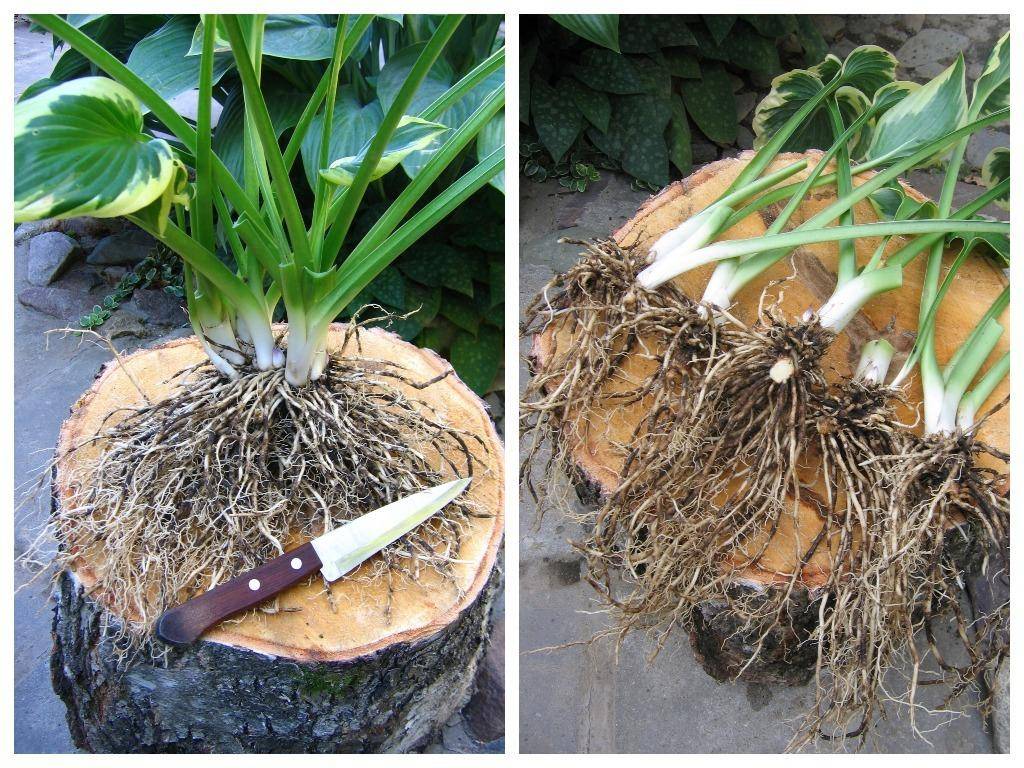
How to share to host
To divide a bush, it must be removed from the ground. To do this, the flower is dug around and, prying with a shovel, is taken out. It is necessary to free the roots from the soil. To do this, it is enough to take the hosta with a bunch and lightly tap the bottom of it on the ground. If the soil is reluctant to move away, it is washed off with water. It is important that the roots are clearly visible, then it is easier to understand how to divide the bush with the least damage for it. After examination with a knife with cloves, the bush is carefully disassembled into divisions. It is better if they have a pair of leaf rosettes in each. Such not too small seedlings are accepted faster.
How to root divisions
If the divided parts are planted immediately to a permanent place, then the interval between them should be at least 30 cm.When the seedlings are small and need to be grown, the bushes can be placed closer. After the young funkii get stronger, they are seated at a greater distance from each other.
The holes are made so that the roots are a little buried, that is, they are a little deeper in the ground than they were before. Before planting the plants, it is advisable to apply complex fertilizer and water the holes so that the soil in them is saturated with moisture.
Best of all, young hosts will take in moist and loose, well-drained soil, ideally in humus soil with a neutral or slightly acidic reaction. It is necessary to mulch the plantings with sawdust and ensure regular watering. When the soil of the hole subsides, it is necessary to fill up the earth.
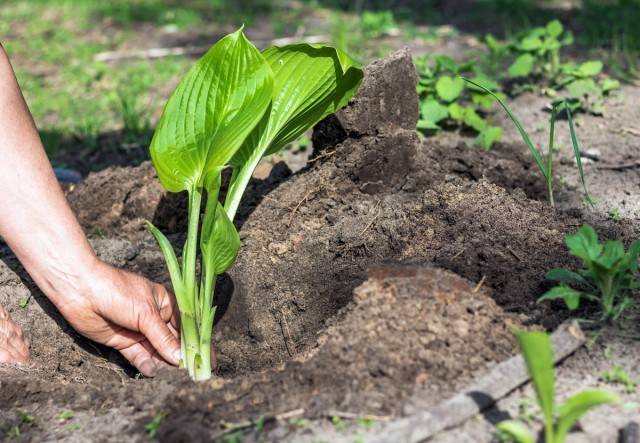
Disembarkation
Some growers recommend cutting off some of the leaves from the seedlings to reduce moisture evaporation.
Cutting hosts
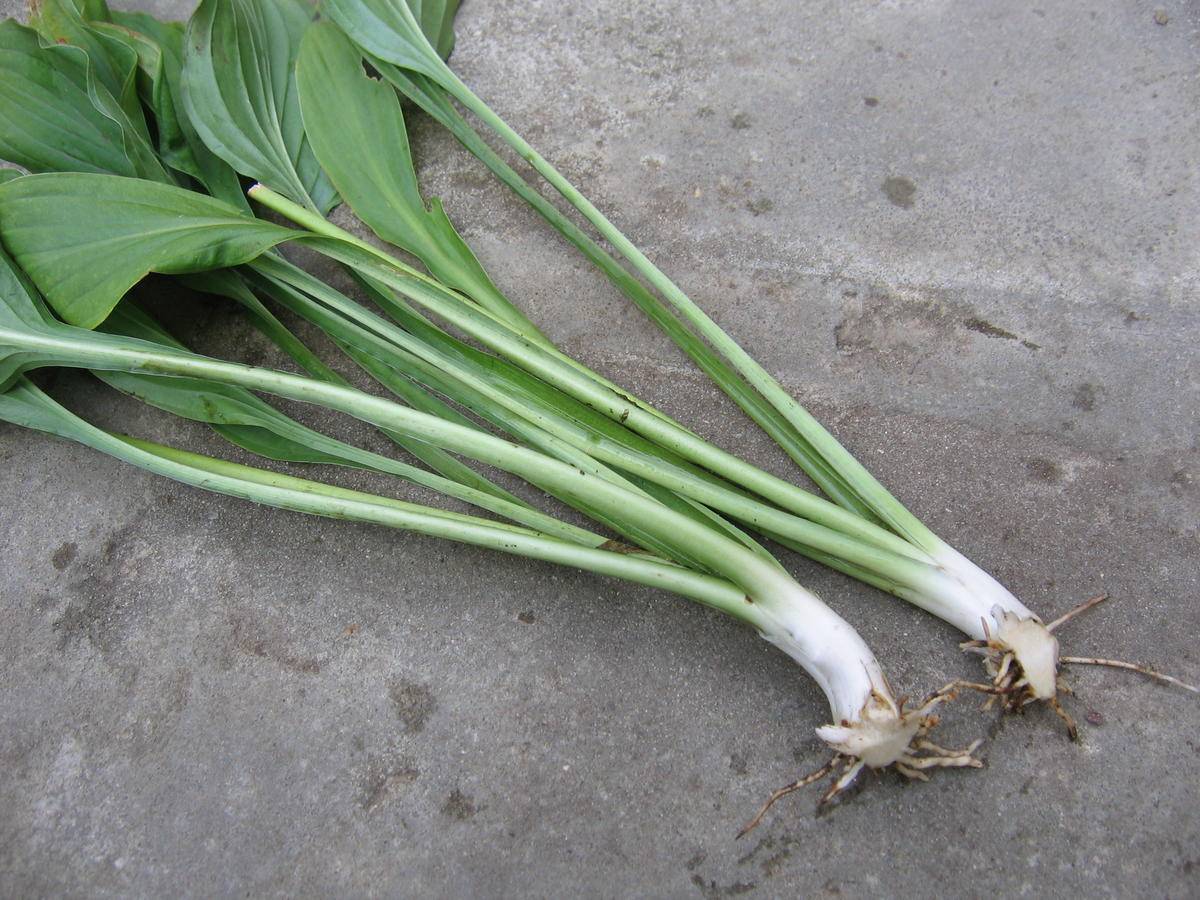
This method is used if it is a pity to dig and disassemble a beautiful formed island of bright greenery. A well-grown hosta tolerates propagation by cuttings very easily. The essence of the method is to separate with maximum accuracy from the outer part of the adult funkii young shoots with a heel (part of the rhizome) and a rosette of leaves.
Time for grafting
The optimal period for propagation by cuttings is the active phase of the plant's growing season, when the leaves have reached their maximum size. This is usually from May to July.
The mother bush is carefully examined and a separate rosette of leaves is selected. Preference is given to compactly arranged small leaves. A sharp knife or spatula is used to separate the cuttings. Having determined where the boundaries of the rosette are, it is carefully cut off from the mother plant, making sure to cut off the stalk with the heel. Sometimes you can separate the desired part of the plant directly with your hands. The cut on an adult host and a seedling are sprinkled with ash.
How the hosta plant propagates by cuttings
How to root cuttings
Most often, the separated parts are not planted in a permanent place, but in a specially designated area for growing. Cuttings are weaker than cuttings obtained by dividing a bush, and need special attention. It is necessary:
- find a place where it is possible to shade plants from the sun;
- shorten the leaves of the seedling to reduce moisture evaporation;
- add complex fertilizer to the hole and moisten it;
- plant a stalk, slightly squeezing it with earth;
- carry out mulching;
- watering young plants in the evening or covering them with a cap to maintain moisture.
Reproduction of hosts by leaves
Sometimes, when separating seedlings from the mother plant, individual leaves that do not have rhizomes are accidentally pulled off. You can also try to grow a bush from such a leaf.
- Dip the end of the leaf into the root.
- Pour enriched soil into a pot or hole in the open ground, ensuring drainage.
- Plant a leaf, shade.
- Cover with a plastic bottle, creating a greenhouse.
- Water regularly.
How to grow hosta from seeds
Growing hostas from seeds is not easy. Moreover, this method makes sense to propagate only species functions, since varietal traits are not preserved through seed cultivation.
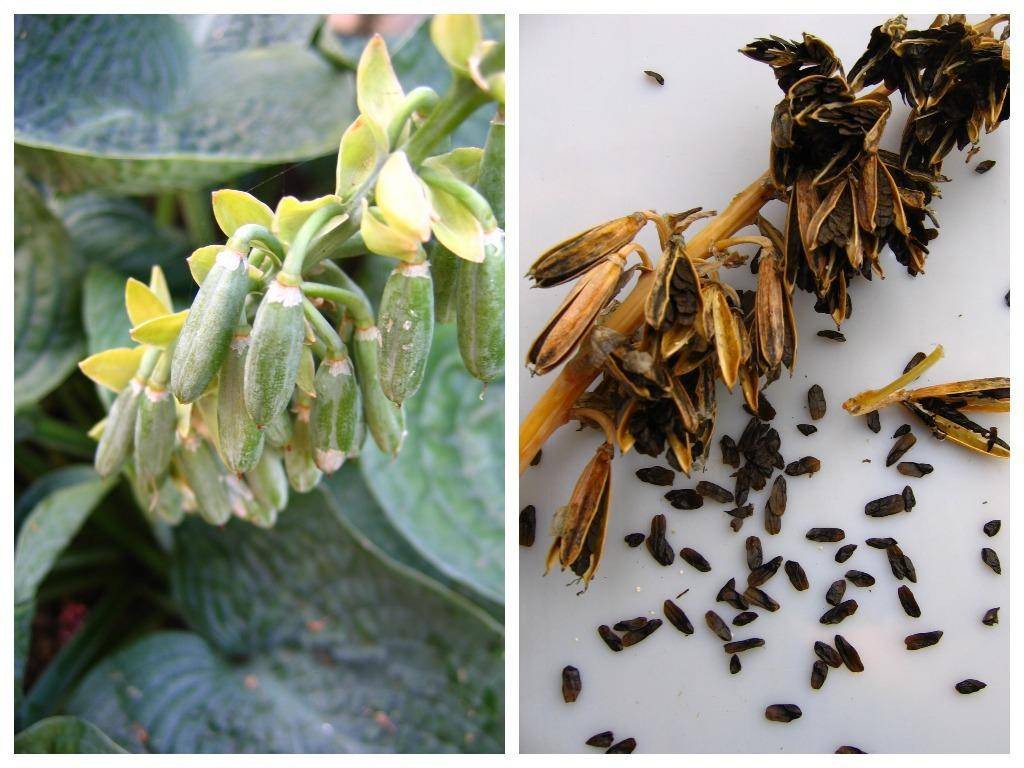
Peduncles and seeds
When to collect seeds
Since most host species bloom in mid-summer, seeds should be harvested in late August or early September. The fact that the seed pods are ripe is indicated by their color: they turn brown-brown and begin to open. This is the optimal time to collect. If the weather is dry, then you can wait for full disclosure. Seeds with a wing sit quite tightly in capsules. If it rains, then 3 days before harvesting, an awning is stretched over the plant so that the flower stalks dry out. The germination rate of seeds harvested wet is worse.
The peduncles are cut off and, having formed bunches and spreading cloth or paper under them, they are suspended in a ventilated room. It is better if the seeds fall out of the boxes themselves. Next, you need to clean the hosta seeds from the wings and, after drying, place them in the refrigerator for a month for hardening.
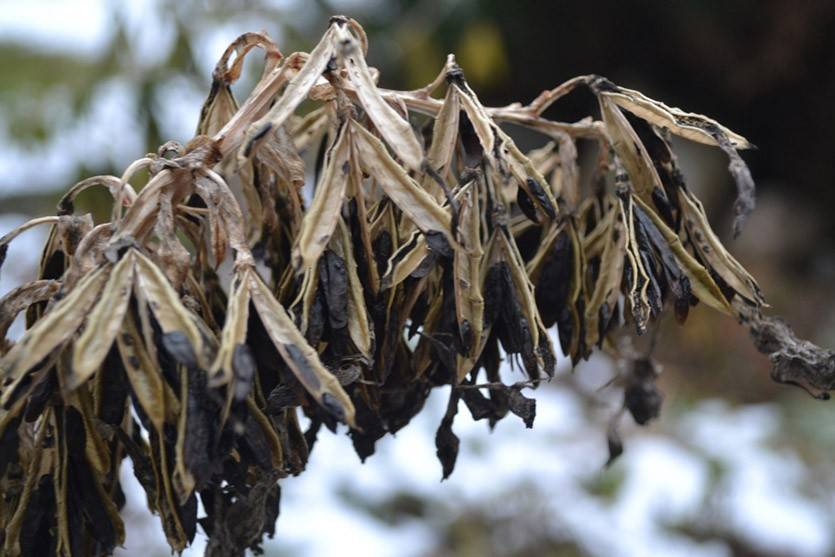
Mature boxes
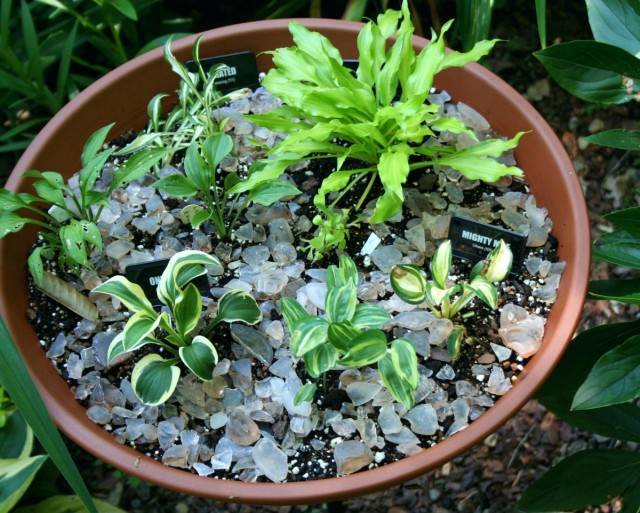
Planting in pots
To obtain seedlings, seeds are planted in April. They are pre-soaked in a growth stimulator.
It is convenient to use plastic pots or ready-made containers with cells as containers for germination. The main thing is not to forget about the drainage and make numerous holes at the bottom of the dishes for planting.
- The container must be disinfected by wiping with alcohol or manganese solution.
- Place a drainage layer on the bottom.
- The substrate must be moist and contain vermiculite, perlite and peat.
- Scatter the seeds at a distance of 1-1.5 cm from each other.
- Pour the same substrate on top with a layer of 5-7 mm, tamp it slightly.
- Cover the greenhouse with foil.
- Maintain the air temperature at the level of 20-25 ° С. The light level is not important, but there should be no direct sunlight.
If the seed preparation was carried out correctly and the planting conditions are met, then in 2-3 weeks shoots should appear. At this moment, the greenhouse is moved to a well-lit place.
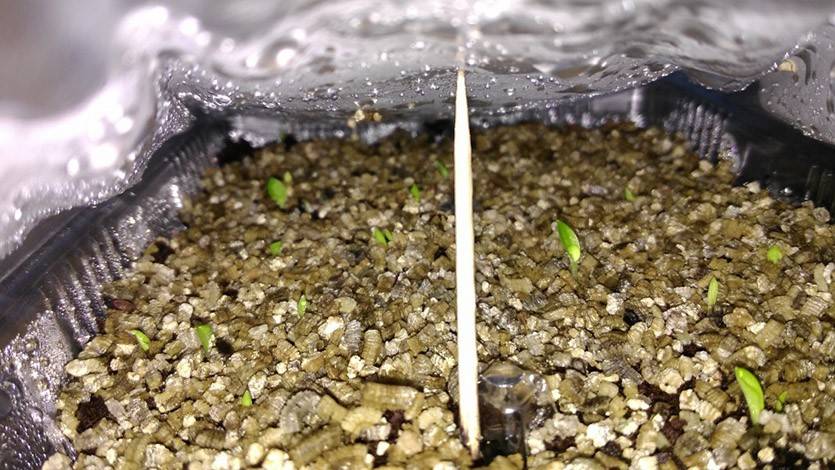
Hosta seedlings will appear in 3 weeks
Dive
The host begins to plant sprouts in separate pots when two leaves appear on them. The soil should be a quarter of sand. Dishes with small functions are placed on a tray into which water is poured. This ensures bottom watering. The plants are covered with foil again.
Only after about two weeks, the cap can be removed and, for hardening, begin to take the shoots outside for a short time.
Landing in open ground
When young hosts are strong enough, you can transplant them to the site. Since the root system of the shoots develops horizontally, the holes for them should be shallow, but rather wide. The soil is specially enriched and loosened. Having planted the plants, they mulch, provide regular watering and, if necessary, shade.
Don't expect seed-grown plants to grow into a lush bush this summer. They will reach full maturity only in the fifth year of life.
Young hosts grown from seeds grow slowly
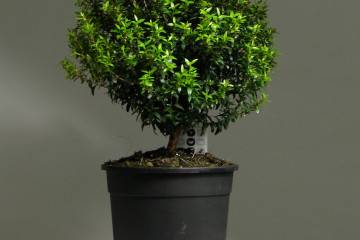
Purchase and storage of functions
Rare varietal hosts often have to be purchased in stores. But it happens that plants appear on sale already in February, when it is still very early to plant them in open ground. How to choose the most viable seedling? How to save a flower before planting?
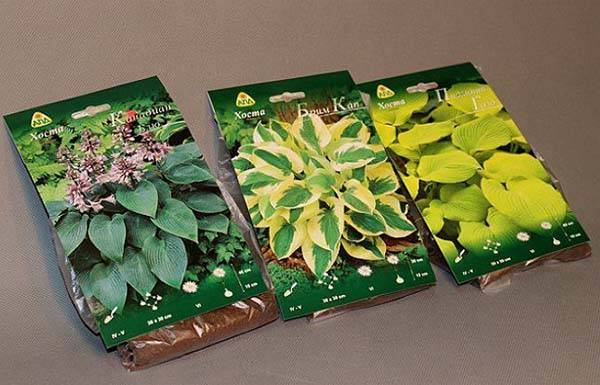
Packaged hosts start selling in winter
How to choose a host in a store
As a rule, the seedlings sold in stores are part of the rhizome. The roots through the packaging should be carefully considered before purchasing. They should be light, long, not overdried, without traces of rot and disease. The bag must be free of condensation water. The growth buds should look healthy.
Storage before planting in open ground
If the buds on the rhizome are still dormant, the seedling can be removed to the bottom shelf of the refrigerator. If shoots are already visible, then the host needs to be planted in a pot. But before that, carry out special training: disinfect and restore in a growth stimulator.
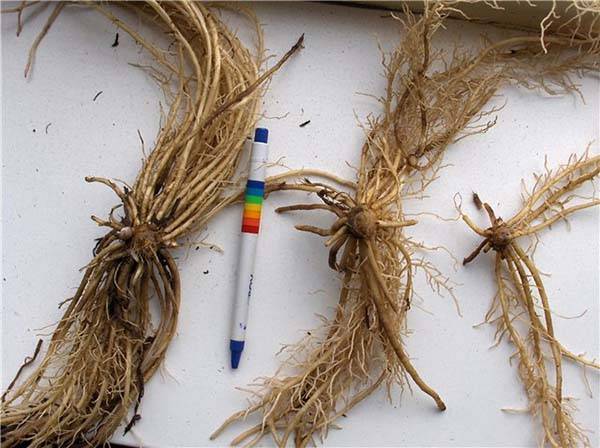
Rhizomes ready for planting
It is imperative to disinfect the seedling. To do this, use soaking in a weak solution of potassium permanganate (potassium permanganate) or in phytosporin. If the rhizome is overdried and in order for it to take root well, you can additionally withstand it in any growth stimulator.
Planting in temporary containers
The size of the pot is selected in such a way that the roots fit easily there. If they are very long, you can shorten them a little.
For landing you need:
- Pour expanded clay into a pot with drainage holes.
- Then add a layer of earth. Soil (with a neutral pH) can be purchased ready-made or prepared independently from a mixture of fertile forest soil, sand, peat and vermiculite.
- When laying the rhizome in a pot, you need to make sure that the tips of the shoots are slightly visible above the ground.
- Water the plant with water or a solution of phytosporin at room temperature and top up with soil so that an earthen crust does not form.
- Place the pot on a light-colored windowsill, but not in direct sunlight.
If there is still a lot of time before transplanting into open ground, then the pot can be placed on the northern windowsill so that the host does not grow too intensively. You can even place the pot on an insulated balcony or loggia. Further, it remains only to monitor the constant moisture content of the soil.
Transplanting into open ground
Spring is considered the optimal time for planting funkii in open ground. The exact dates depend on the specific area, but usually it is the end of April - beginning of May. It is worth focusing on the fact that the earth is already warmed up, and there is no danger of frost.
Saplings hosts
If for some reason there is no opportunity to plant the host in the spring, then you need to do this either at the beginning of summer, or already at the very end. In the middle of summer, planting and transplanting flowers is not recommended.
Funkii on a personal plot should be planted in early spring
The number of hosts' fans is growing every year. A huge number of threads on forums, sites are dedicated to it, festivals and exhibitions are held all over the world. A beautiful "Asian" will gladly settle on any personal plot and will decorate it for decades, because this flower is a long-liver among perennials. And the ease of care and reproduction allows her to conquer ordinary house beds, and places in royal gardens, and even window sills in apartments as a potted plant.