How to plant dill at home in winter
Content:
In winter, when there is so much lack of vitamins, dill grown in an apartment will come in handy. The spice planted in the garden does not require special attention. But in order to get a rich harvest and enjoy greens at home, you need certain skills. Knowing how to grow dill at home, and applying the rules of agricultural technology, you can provide seven vitamins not only in the winter, but at any time of the year.
How to plant dill at home
Planting and growing dill at home depends on the right choice:
- varieties and quality of seed;
- utensils corresponding to the size of the planting material;
- good, fertile soil;
- effective feeding;
- additional lighting in winter;
- leaving.
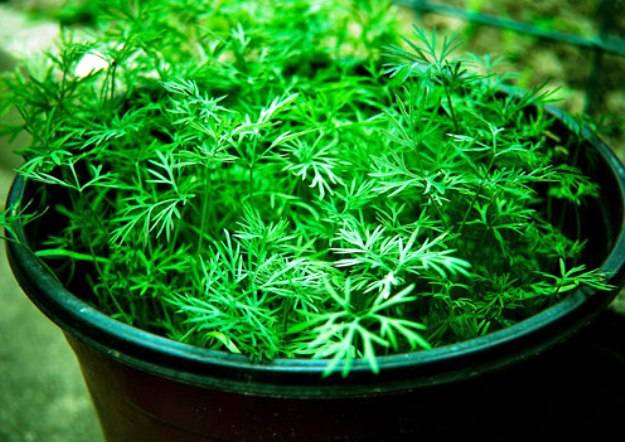
Growing dill at home
Often the plant is grown on a windowsill so that it can receive sufficient light.
Growing dill on a windowsill
For a year-round harvest of useful spices, several varieties are planted at the same time, differing in the ripening period.
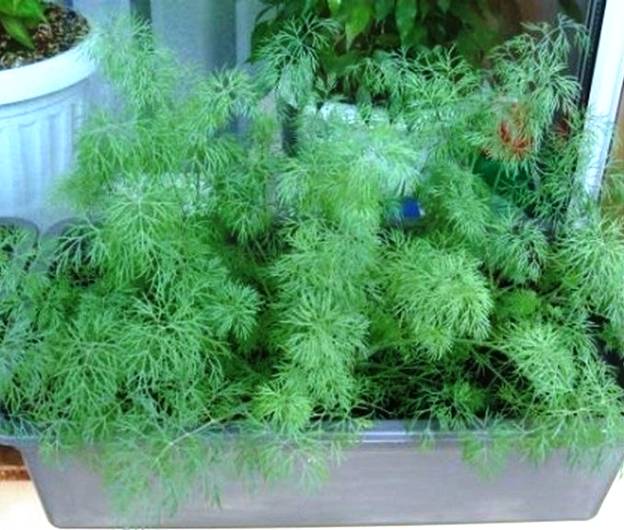
Growing dill on a windowsill
Varieties for growing on a windowsill
Early maturing varieties ripen in 1-1.5 months. The disadvantage is that after the appearance of 4-6 leaves, stemming begins. That is, the variety gives little green mass.
Examples of varieties:
- Grenadier - the owner of gray needle-like leaves;
- Gribovsky has a pleasant smell, gives a lot of green mass, is unpretentious in care;
- Anker is a medium-sized plant with juicy fragrant leaves;
- Dalniy is a high yielding, disease resistant variety with excellent taste and spicy aroma.
Mid-season varieties delight with a large amount of greenery, and for a long time. After harvesting the leaves, new ones grow in their place, although they are coarser and less aromatic than those of the first harvest. The ripening period for varieties is 10-15 days longer than for early maturing ones.
Examples of varieties:
- Richelieu is an odorous variety with lacy leaves of a bluish-green color;
- Kibray is a popular variety in Russian regions. The best view in terms of growth and yield of greenery;
- Umbrella is a dill with tender and juicy greens in the early stages of growth.
Late-ripening varieties are the most suitable option for growing on a windowsill, but a vegetable garden and a balcony are not excluded. Greens can be harvested for 60-70 days. The quality of the dill is good. Young shoots are formed constantly and at an enviable speed. These include the Russian variety, Amazon, Buyan, and others.
Growing dill in the winter at home
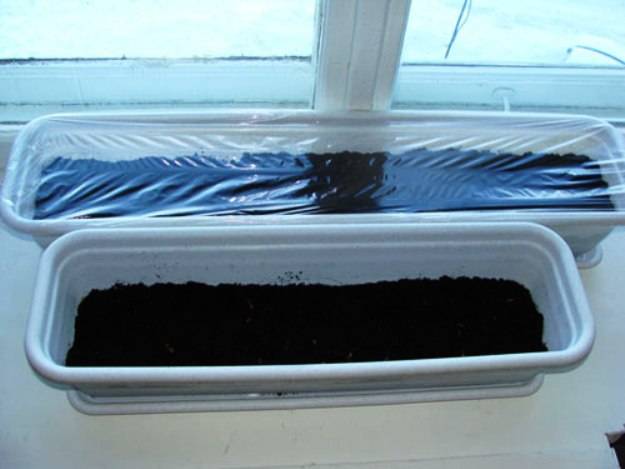
For the cultivation of dill in the house, choose wooden, plastic containers with a volume of at least 1-2 liters. The containers should be deep, as in other containers the root system will be cramped.

Choice of containers: plastic, wooden, peat pots
There must be holes at the bottom of the container and drainage, for which expanded clay, pebbles, gravel are used. New pots (containers) are washed with laundry soap and disinfected with whiteness, boiling water or peroxide.
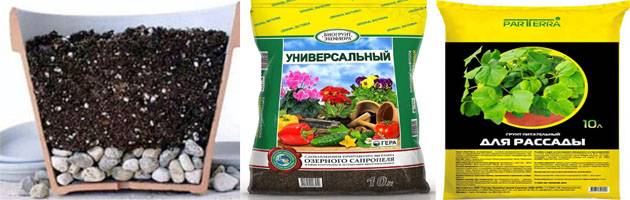
Soil for planting dill in the house
The soil for planting is bought in the store.Suitable soil "Universal" or soil "For seedlings". But self-prepared soil will give the best harvest. It should contain garden soil, peat, coconut fiber and river sand in a ratio of 2: 1: 1: 1. The soil is diluted with a small amount of wood ash.
Disinfection of the soil is carried out with a manganese solution (weak), calcining, watering with boiling water and other methods.
Growing dill hydroponically
To get dill in your home and greenhouse, you can use the hydroponic method. Hydroponics is a system for growing greenery without soil. Dill roots are dipped in a nutrient solution. The plant receives all the necessary elements from this solution. Care consists only in adding a solution and timely cutting off the grown dill.
How much dill grows in a pot
Duration of seedlings is on average 7-12 days. By 6-8 weeks, the dill harvest is ready. But after removing the feathers, the spice no longer grows. Therefore, the seeds are sown every 2-3 weeks.
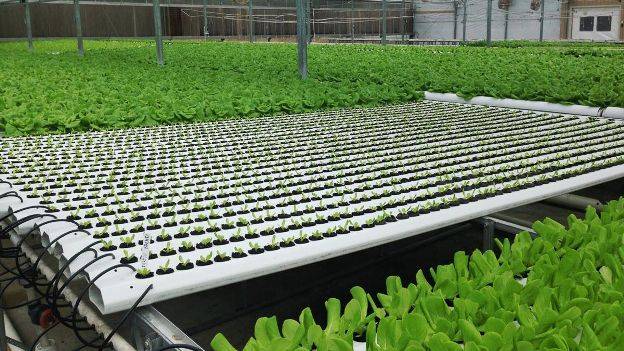
Growing dill hydroponically
Dill planting technology
Before sowing, the seeds are prepared. For this, step-by-step procedures are performed:
- Disinfection, for which the seeds are poured with a weak solution of manganese for a third of an hour.
- Removal of essential oils by soaking the seeds in water for 8 hours or by bubbling.
- Sifting out floating seeds.
- Stimulation of germination with "Zircon" or "Epin" preparations.
How to plant dill seeds at home
The finished seeds are planted in the ground. Seeds are placed in containers on top of the ground. Then lightly press down. Sprinkle with humus with peat in a layer of 1 cm. Or make grooves 10 mm deep, spray them with water and lay the seeds, and sprinkle them with earth on top.

Dill planting technology at home
After planting, the seeds are moistened, the container is covered with glass (polyethylene) and sent to a dark warm corner, where it is kept until germination. The room temperature is maintained at + 20-22 degrees.
The emerging planting sprouts are thinned out, leaving 3 cm between shoots. The glass is removed. The container is installed on the windowsill.
After planting the seeds, the container is covered
Watering and caring for sprouts
Dill is looked after as for any houseplant. Dill loves daylight. If the container with greenery is on the east, south or west side of the apartment, there will be enough light in summer. Moreover, the southern windows are shaded from the bright rays of the sun. In winter, dill will need additional lighting. These are phytolamps and similar installations.
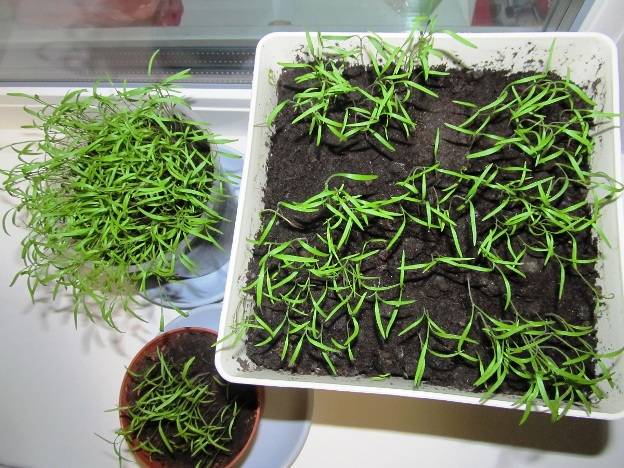
The first shoots of dill on the windowsill
Content temperature
Normal room temperature is fine for the plant. Optimum performance is + 17-20 degrees. But at night the room is cooled to +10 degrees. To do this, open the window or take out the landing on the balcony. At elevated temperatures, greens are regularly sprayed or supplied with a humidifier.
Watering
Winter watering is carried out when the top layer of the soil dries up. The procedure is performed no more than 1-2 times a week. Drying out is also not allowed. If the air is dry, spraying is necessary.
The number of spring and summer waterings is increased. Moisturizing is carried out every day. Excess moisture is drained from the pallet. Otherwise, rotting of the root system is possible.
Watering is carried out with water at room temperature, previously settled for some time. The best option for irrigation is melt water or rainwater.
Top dressing
When breeding dill, fertilizers are not always applied. If fertile soil is selected for planting, fertilizing is optional. If the soil is poor, feed 2 times every 3 months. Agrolife is added to the topsoil at the rate of 1 teaspoon per month. The use of any complex fertilizer for flowers is allowed. And for the active growth of green mass, nitrogen-containing fertilizing is introduced.
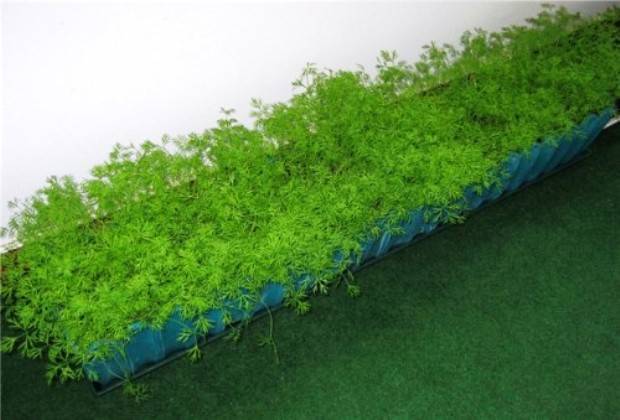
It is not difficult to grow a rich harvest of dill
Harvesting
Dill is best sown from mid-spring to the last summer days. From planting to the first harvest, it takes 3 to 6 weeks. In order for greens to constantly decorate the table, dill must be sown every 3 weeks.
For cooking, not only the leaves are used, but also the roots of the plant. To do this, they are dug up, washed under running water, and dried. The roots retain their properties throughout the year. In cooking, they are used whole or crushed.
Planting greenery on the windowsill will not be difficult even for a novice gardener. Doing it right all the way, from harvesting seeds to harvesting, listening to the advice of professionals, you can provide the dining table with greens rich in vitamins and trace elements for the whole winter.