How to propagate thuja - grafting and transplanting
Content:
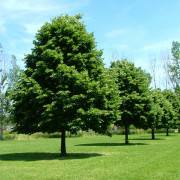
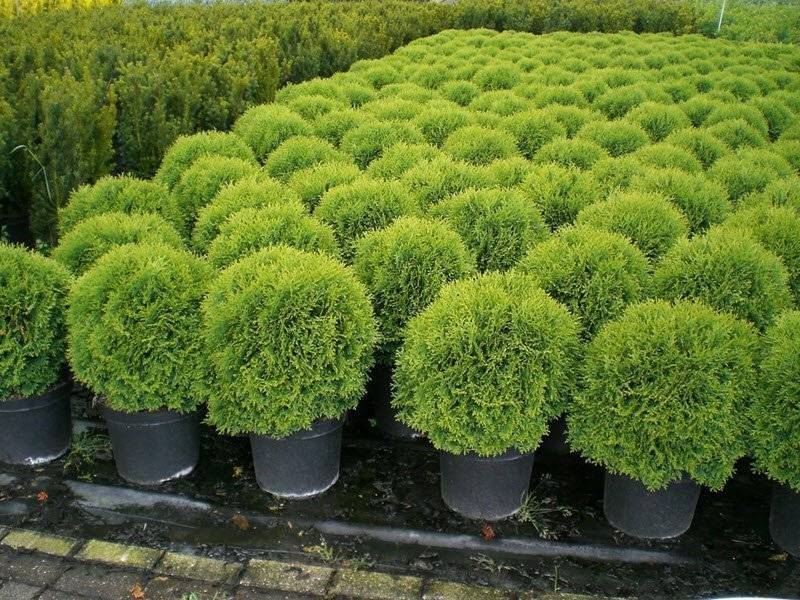
Thuja is a plant widely used in landscape design. It is highly resistant to both frost and more severe frosts, and is also unpretentious in maintenance. Quite often you can see how the plant is used to beautify areas of the garden or the territories of country houses. But most gardeners are stopped by the cost of a grown tree. Therefore, the question arises how thuja reproduces. Following the clear recommendations of experienced gardeners, you can do it yourself.
Thuja propagation by cuttings in spring
The tree propagates by seed, cuttings or twigs. It is possible to propagate thuja by seeds, but this is a very lengthy process that requires time and patience. Growth of thuja, like cypress from seeds, takes from 1.5 to 6-7 years. It is also believed that specimens obtained by cuttings are more likely to successfully overcome the difficult period of adaptation.

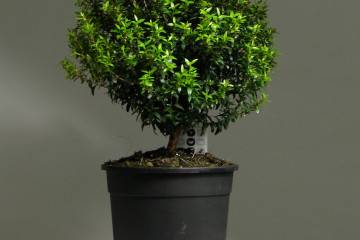
Thuya Smaragd
The fastest and easiest way to propagate thuja is spring cuttings. Great for growing such a beauty in your garden. When preparing, you need to remember that the shoot chosen for cuttings from the mother plant must be strong and completely healthy. It is not recommended to pick up young cuttings or branches that are too old.
Before rooting thuja, you need to choose the right child material. The shoots that grow from the middle of the thuja are best suited. They are quite strong, but not yet lignified. It is necessary to separate several shoots with a length of about half a meter. Leave a small amount of bark at the tip of the branches.

Thuja from seeds
Experienced gardeners call this type of harvesting - heel. The larger the area of the torn bark on the cutting, the faster the rooting process will take place. It is possible to disrupt the shoot in such a way that it has a "heel" with a special knife or with a sharp tearing downward movement. Unnecessary leaves and extra twigs should be removed.
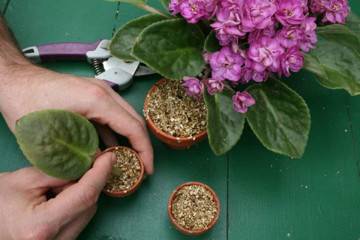
It is important to prepare in advance a container filled with peat and leafy soil. The stalk is deepened about 2 cm deep. It is necessary to monitor the angle at which the landing will be made. It should be 60 degrees. The place around the cutting must be sprinkled with sand, and then trampled down.
Follow-up care
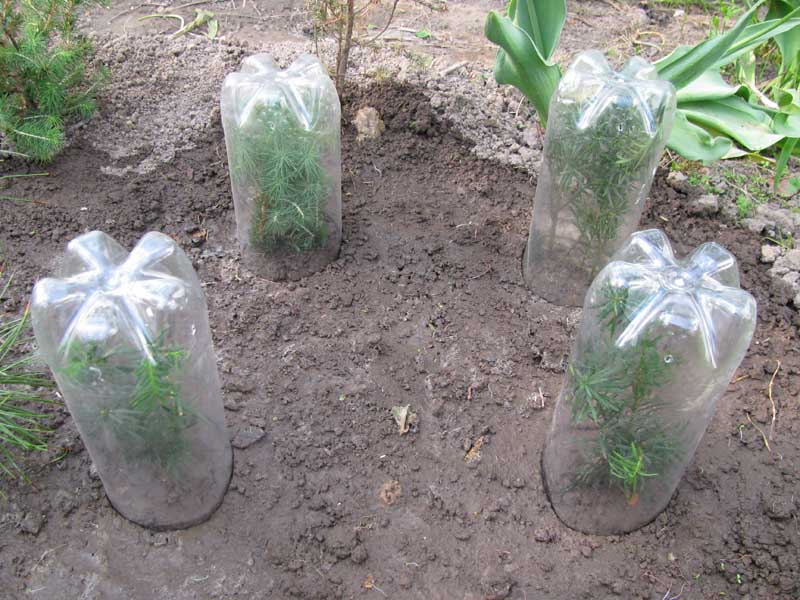
Watering is carried out from above, then a kind of greenhouse is made using cling film. You can use a glass jar for these purposes. Next, put the container with the planted cuttings in a warm place with good lighting.
It is necessary to monitor the humidity, it should be no more than 65%. Temperature indicators of the air vary from 21 to 23 degrees. Otherwise, the stalk may start to rot. Spraying the cuttings is carried out with purified warm water. Watering under the root is not recommended.
The appearance of new shoots on the handle is a signal that rooting has occurred successfully.
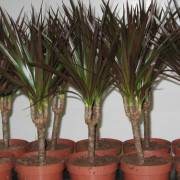
Thuja in pots
It is too early to plant the plant when shoots appear in the open ground.It is necessary to do everything gradually, opening an impromptu greenhouse from time to time, letting the cuttings "breathe". The airing time is increased by reducing the amount spent under the cover. It is possible to transfer a rooted thuja stalk to open ground only after the plant gets used to cool temperatures.
How to grow thuja from a twig
Raising the question of growing thuja at home, you can come across alternative options. How to grow thuja from a twig? Growing a thuja from a green twig, and not from a cutting, has its own nuances. The action plan is almost the same as in the case of cuttings. The peculiarities are that the cut of the branch (not the cutting) is treated with good stimulants, which allow the roots to form faster.
Among the nuances in the reproduction of thuja (like other cypress) with twigs, there is also the treatment of a pot with soil or a pallet with sand prepared with a solution of potassium permanganate. The twigs are placed in the soil mixture at an angle not 60 degrees, as is the case with cuttings, but 45 degrees.
Propagating thuja with twigs, you need to monitor the pallet in which the child material is located. It must not be exposed to direct sunlight. Moistening is done by the same method as when thuja is propagated by cuttings.
Rooted twigs are planted in early summer (if the daughter material is kept in the greenhouse) or in spring. This will save more rooted branches. They adapt much faster to new conditions for them and survive well during hibernation.
Choice of mother plant and propagation time
The main criterion when carrying out cuttings of representatives of conifers is the correct determination of the timing of the procedure. Some gardeners are sure that the preparation of cuttings for rooting should be carried out in the winter. Someone argues that thuja cuttings are best done in mid-spring. You need to be guided by the end of the shoot growth process. You can start the procedure only when the growth of the shoots has ended.
In order for the grafting procedure to be as effective as possible, you need to choose a strong and completely healthy mother plant. Examine the upper part - the skeletal branch and with a knife or with a sharp movement of the hand, tear off the lignified growth (the age of growth is about 2-3 years).
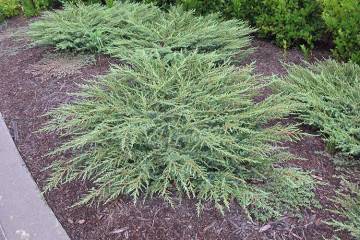
Unlike juniper, thuja, which grows from a cuttings selected from lateral shoots, can be crooked, irregular in shape. Such a stalk will become a diseased seedling in the future.
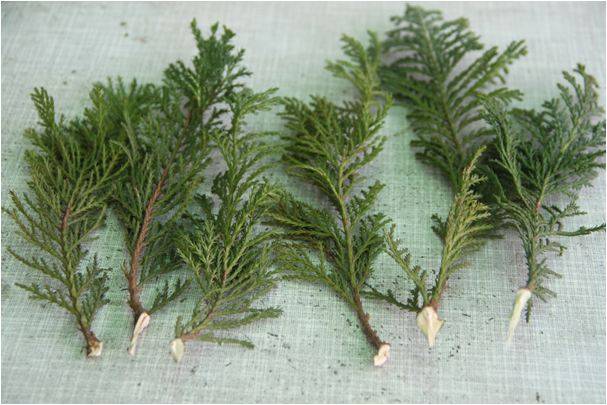
Workpiece with "heels"
Experienced gardeners recommend cutting off the extra piece of bark in the event of a cut with an unnecessarily long "heel". This will prevent the decay process from developing. The optimal length for the cutting for further rooting is 15 cm. In case the branches are too lignified and you cannot easily tear them off, you can use a garden pruner.
Rooting substrate preparation
The substrate for rooting is selected taking into account the natural habitats of thuja. River sand is excellent, as well as drained light soil. A mixture for petioles is prepared from peat with soil and sand in the same proportions.
The container is chosen shallow and the selected substrate is poured into it. The special cassettes available from the Horticultural Supplies department work well. You can also use plastic containers used for growing seedlings.
Lay expanded clay or gravel at the bottom. It is necessary to dilute potassium permanganate to a dark pink shade and process the selected soil mixture with it.
Rules for harvesting cuttings for home rooting
First of all, it is necessary to rid the selected cuttings of unnecessary coniferous branches. The cut is carried out in the lower part of the cutting, then stripping is carried out from the bark. After preliminary procedures, the cuttings are placed in a solution of "Epin" or other growth regulators. Cuttings should be there for at least 12 hours.
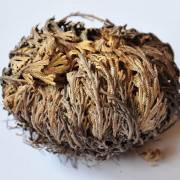
Rooting cuttings with moss
It is great if the gardener has sphagnum moss in his arsenal. This substrate is suitable for the rapid germination of thuja cuttings. Sphagnum has pronounced water-retaining properties, and also has an antiseptic effect. Rooting cuttings with moss, you do not have to worry that the plant will dry out or undergo fungal infections.
Propagation by cuttings
Thuja care before planting in a permanent place
Thuja cuttings are kept in a warm place, but not without exception of light. You need to understand that direct sunlight will be detrimental to the cuttings, they will quickly fade, and not having time to take root.
Watering the substrate is done as the upper layers dry. With an excess of moisture or a lack of moisture, the death of thuja cuttings is possible. Watering is carried out carefully so that water does not fall on the coniferous part. It is recommended to use a spray bottle. A strong pressure of water can expose the ground around the cutting.
In autumn, the planted seedlings are additionally covered with spruce branches, foliage or sawdust, leaving them under cover for the winter. After the frosts end, there is no need to cover the plant. And only after a few years (1.5-2 years) the seedlings are transplanted to a permanent place.
When is it better to transplant thuja
Before transplanting thuja in autumn or spring, it is important to decide whether this is so necessary. Any transplant is dangerous, because there is a violation of the root system. If there are no special factors provoking a thuja transplant, it is better to refuse such an event.
Gardeners have different opinions about the autumn or spring transplant time. In the autumn season, conifers are more likely to adapt quickly to a new place. Also, the plant's growth and development are normalized faster.
Before the onset of cold weather, the root system is strengthened, overgrown with additional roots. The plant tolerates any injuries more easily. The best time for an autumn transplant is the first months of autumn.
How to transplant an adult thuja in the spring to another place
Cutting thuja in the spring is an undesirable procedure. It is believed that it does not allow the plant to recover normally, and with rapid frosts, the seedling may die. But if there is a desire to try, then the transplanting process begins with preparation, step by step following the instructions before the growing season occurs. Otherwise, the plant is susceptible to various diseases.
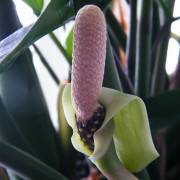
How to grow thuja from seeds
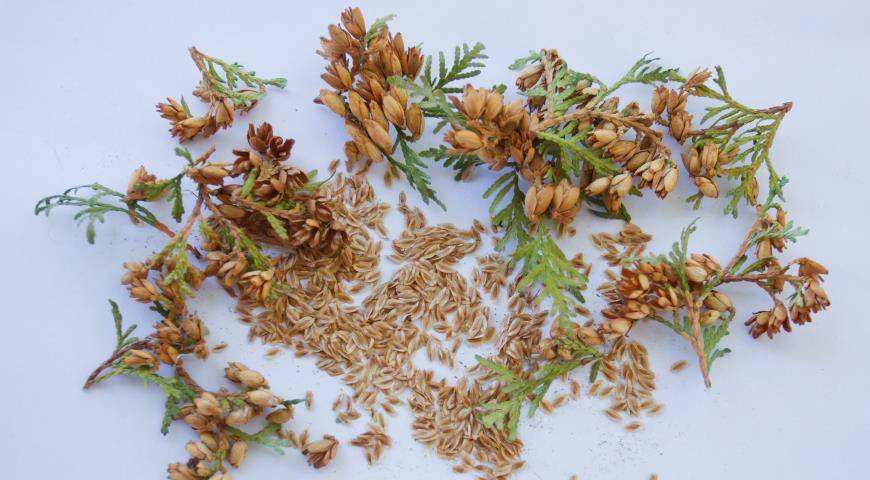
Thuja from seeds can be grown without any problems. The cones that thuja throws out are spherical, bluish in color.

Thuja seeds
The process of germinating seeds is quite long, because seedlings only after a year reach about 10 cm in length. The root system is normally formed from 2 to 6 years. Seedlings grow 20-25 cm in height annually, but these figures may differ under different conditions.
Young seedlings require constant application of complex fertilizers, which include nitrogen, potassium and phosphorus. When replanting seedlings, you must try not to deepen the root collar.
Growing thuja from seeds at home
You can sow thuja directly into the ground in the designated area. But it is better to use a special box for sowing thuja seeds. It is much more convenient to take care of the seedlings this way.
Sowing preparation involves filling the box with a mixture of peat, sand, turf and garden soil. The ingredients are thoroughly mixed, leveled and compacted the resulting soil mixture. Next, furrows are made so that the distance between them is at least 5 cm. Seeds are evenly laid out along the grooves, covered with a mixture of earth - 1 cm.
With the help of planks, you need to seal the surface. In dry weather conditions, the soil is watered, but make sure that the planted seeds do not float. If the planting of thuja seeds was carried out in wet soil, it means that additional watering is not carried out.
Preparing seeds for planting
In order to germinate the thuja seeds faster, it is recommended to cover the container or box with the seeds with cling film. This will create a humid greenhouse-like climate. The first shoots begin to appear a month after planting. The film can be removed only when the young seedlings are slightly stronger. After that, they can be seated.
Having learned how to propagate thuja, you can easily decorate your site with this beautiful evergreen plant.