Hoya propagation by cuttings, rooting and transplanting at home
Content:
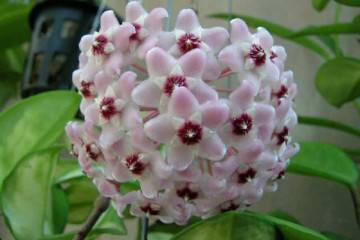
Hoya is popularly called “wax ivy”. This liana was given this name because of the dense, fleshy foliage, which looks like it was doused with wax. In the wild, hoya grows on rocks. Originally from Asia, it is common in China and India. Some types of wax ivy are also found in Australia.
Growing hoya is not difficult, but it is a heat-loving flower; in cool rooms, its development slows down. Another "but": if there are children and pets in the house who like to gnaw on leaves, this flower cannot be grown. In children, this will cause severe poisoning, and small or weakened pets may die.

What is hoya, the care and cultivation of which is so frightening for many gardeners
Hoya: breeding at home
Reproduction of wax ivy is a matter that even a novice florist can handle.
So, how the hoya reproduces:
- cuttings;
- sheet plates;
- stem layering;
- seeds.
The easiest way to propagate wax ivy is cuttings. The rest of the methods are more laborious.
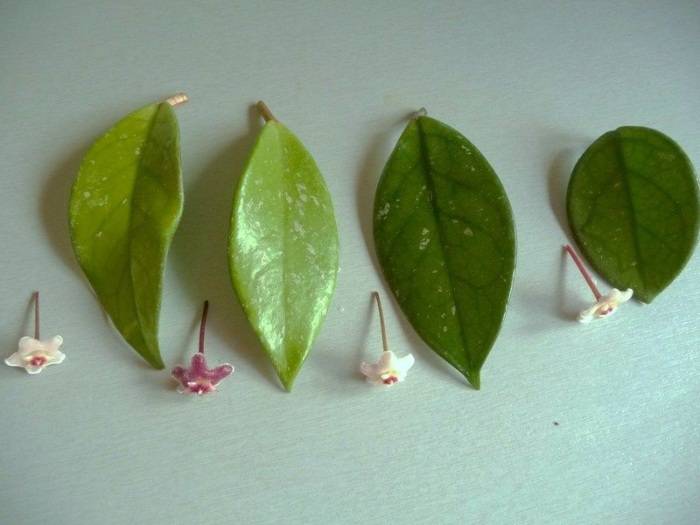
Hoya leaves
Propagation by cuttings
Reproduction of hoya at home by cuttings is a simple and exciting exercise. This flower constantly supplies the grower with propagation material. After all, the vine grows strongly and its crown needs to be formed. Accordingly, extra shoots remain.

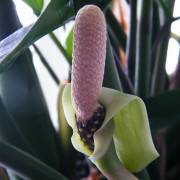
Hoya flower
It is necessary to propagate not by first-year shoots, but by those that are already two years old. Young shoots are not yet strong enough. For rooting large varieties of wax ivy, only those cuttings on which two or three pairs of leaf plates are suitable. Smaller specimens of leaf nodes may have more, up to 10 pieces.
In no case should the shoot be torn off, it is cut off with a sharp tool: either with special scissors or with a knife. The cut is made on internodes. The growing end of the shoot can be marked so as not to place it in the soil during rooting, because then the cutting will die.
Unlike many plants, for which it is important that the cut remains fresh, in the hoya it should dry out. For this, the planting material is left for 1-2 hours to dry the cut. Roots will form more from the leaf node, where the corresponding hormones are located. That is why there should be more than one pair of leaves on the cutting to have more chances for successful rooting.
It is most convenient to use parts of shoots no longer than 10 cm. Longer shoots will dry at the tip.

Germinated stalk
Hoya rooting
Rooting hoya is possible in two ways. The first involves landing directly into the ground. The rooting substrate is selected in the following proportions:
- 1 part river sand;
- 2 parts of peat.
Another mixture is used:
- 1 part river sand;
- 2 parts of sheet soil;
- 0.5 parts of humus;
- 1 part turf.
You can also plant it simply in sphagnum moss.
Another way is rooting in seramis. This is a clay soil that is able to maintain an optimal level of moisture. To germinate cuttings in such a substrate, a greenhouse is not needed. But reviews about this method can be found both positive and negative.
Large types of hoya are placed in a pot at an angle or vertically. One knot should be covered with a substrate.
The shoot of a small variety of wax ivy is placed horizontally on the ground. Several nodes must be in the ground.
Several cut shoots can be planted in one pot.
For better rooting, keep the temperature at 22 ° C. The humidity should be high. The stalk must be constantly sprayed.
Hoya will take root no earlier than 14 days later.
The second method involves the formation of a root system in water. The step-by-step algorithm looks like this:
- Take an opaque container and pour water filtered from harmful impurities into it. In a transparent container, green algae will form in the light, which is harmful for germination.
- A root formation stimulant is added to the water, for example, zircon (not the most effective, but the most environmentally friendly, does not pose a threat to children and animals).
- They take a sheet of foil, make a hole in it, insert a handle there and set it on a container with water.

Rooting wax ivy in the substrate
If the stalk dries up, then you can create a polyethylene greenhouse around it.
The roots will appear in two weeks.
Growing hoii from a leaf
If hoya grows in the house, few growers know how to propagate it from a leaf. The method is not the most time consuming, but not always with a successful result.
The cut leaf is treated with a root stimulator and planted in a light substrate, for example, in sphagnum moss, at an angle of 45 °. The leaf will readily take root, but most likely will not develop into an adult plant.

Rooted leaf
Reproduction of hoya wax ivy by stem layers is a more effective method. This breeding method can only be used on a strong adult plant. An incision is made on a large shoot with a sharp knife. Hoya gives roots well, but if you treat the incision site with a root stimulator, they will appear faster.
The shoot in the place of the incision is covered with sphagnum and wrapped in cling film. You can just use a plastic bag, but cling film is the most neutral option. The film is tied at both ends so that it sticks to the stem.
Instead of sphagnum, you can use peat or coconut substrate.
When the first roots are formed, the cuttings are separated from the stem. The cut is made 1.5 cm below the node from which the roots have sprouted.

Propagation by air layers
You can use another method for propagating hoya by layering. To do this, a strong healthy shoot is laid out directly on the ground, attached (for example, with special fasteners for plants) so that it does not rise from the surface, and sprinkled with sphagnum or peat. When the hoya, reproduction of which was carried out in this way, forms its own root system, the rooted part is completely separated from the mother flower. The cut surfaces on the parent plant and on the layering should be sprinkled with charcoal.
A flower multiplied in this way will delight with flowering already next year.

Reproduction by layering from the stem
Home transplant
This flower does not like frequent transplants, since during them it can become infected with various pests, for example, a spider mite. The optimal frequency of such a procedure is no more than once every 3 years.
The transfer is carried out by the transshipment method. The roots are not cleared from the ground, the plant is placed in a larger pot along with a lump of earth, without exposing the roots.
If for any reason it is necessary to remove the old soil, then they do it very carefully.
The flower is placed in a new pot and the required amount of soil is added.
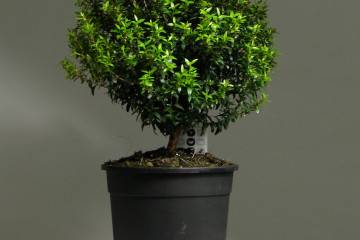
How to plant hoya
There are several rules on how to plant a hoya so that it takes root:
- pot selection. Wax ivy does not make demands on the material of the flowerpot. It can be ceramic or plastic. For ampelous species, hanging pots are chosen. When choosing a pot for a hoya, the network is one secret: to form a dense crown, choose a pots that are more spacious, and for abundant flowering - very small. A very large pot is bad for the development of the vine. Moisture evaporates from a plastic container more slowly than from a ceramic container, this must be borne in mind when watering;
- timing for landing. Like many indoor plants, hoya needs to be transplanted in the spring. A transplant in the fall can be detrimental to the flower. Most likely, it will not take root;
- suitable soil. The soil should not be overly dense. From ready-made substrates, a soil mixture for ampelous plants is suitable. Hoyi grow well in the soil for Saintpaulias, begonias, dracaena. Experienced florists recommend diluting the store mix by ¼ with perlite. If there is no desire to plant a flower in the finished soil, then you can compose it yourself from turf, leafy soil, peat and sand (1: 2: 1: 1);
- drainage from expanded clay or perlite is laid out on the bottom of the planter. Then add some soil. Hoya is placed in the center of the pot, soil is carefully poured around. The flower must be held. If the liana requires support, then it is installed before placing the plant in the pots, otherwise, when sticking it in, the root system can be damaged.
Caring for a hoya at home is simple. The tropical beauty prefers well-lit places at home, but direct sunlight can cause burns. In the warm season, you need to spray often. Watering frequency depends on the variety. Fertilizer is chosen for flowering succulents.
How to grow hoya from seeds at home
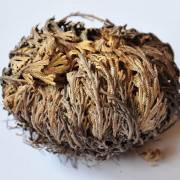
Hoya seeds rarely ripen. For their ovary, the plant must be properly pollinated. The pubescent seeds are collected in small pods. The harvested seed must not be stored for a long time. It is slightly dried and immediately planted.
Planting hoya seeds in a pot
Planting is carried out in soil prepared from turf, sphagnum and leafy soil (one part at a time). Seeds germinate together 7-8 days after sowing. The air temperature for seedlings should be at least 22 ° C.
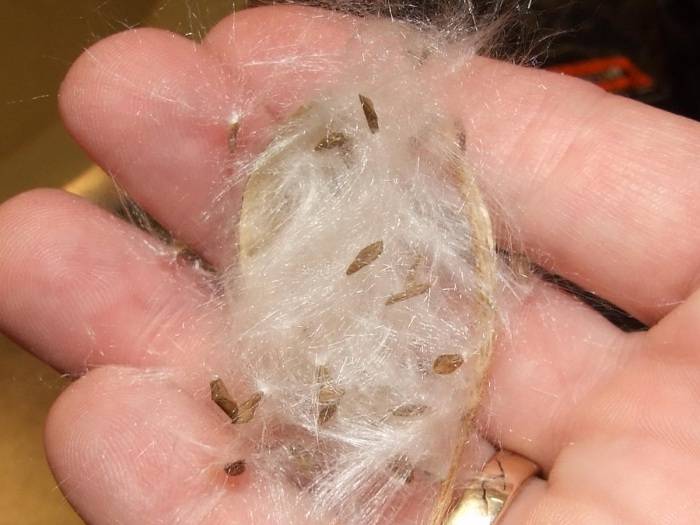
Hoya seeds
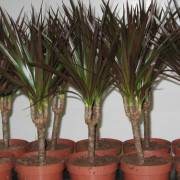
The sprouts are planted when they have three true leaves (three months after germination).
Hybrid varieties may lose some of their parental traits, so it is better to propagate them by cuttings.
Easy care of the hoya, beautiful foliage and charming fragrant flowers make it a welcome guest on any windowsill. And it also reproduces well in many ways, so that the resulting specimens can be given away to everyone you know.